
A few days ago one of our members gifted us a cutting plotter.
While we were still in the process of figuring out, how it works I stumbled across a reddit post by /u/itsgus.
Since I happened to have a couple of stainless steel cups lying around an idea was born to combine these three.
First we needed to decide what we wanted to etch onto the cups. Though this was not really up for decision: Apart from several different aperture logos, one of our motifs was a cake (not a lie). There are plenty of suitable svg files available via image search of which we wickedly downloaded one. (Though, during writing of this howto, I ran across this piece of condensed awesomeness)
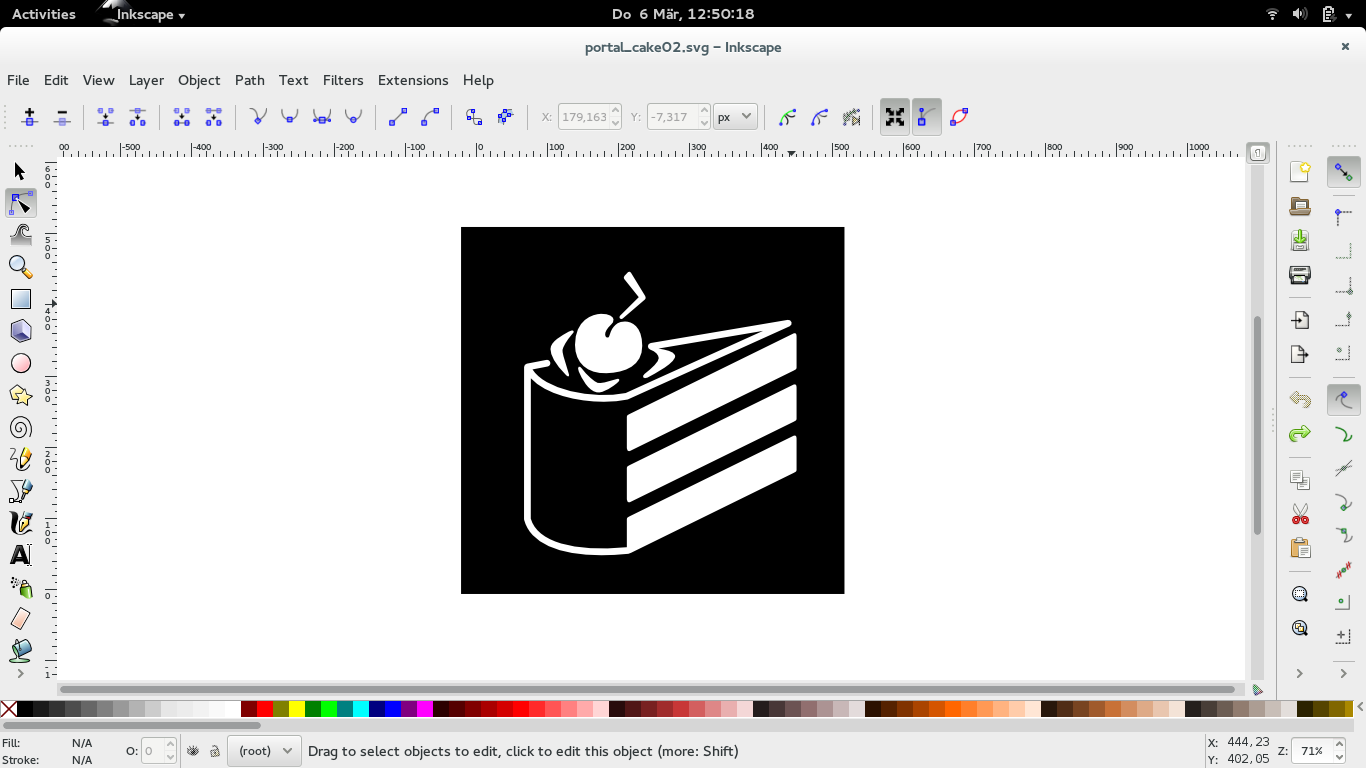
Image processing was done with inkscape and the inkcut extension, I might dig into that in another post since the workflow is rather plotter-specific.

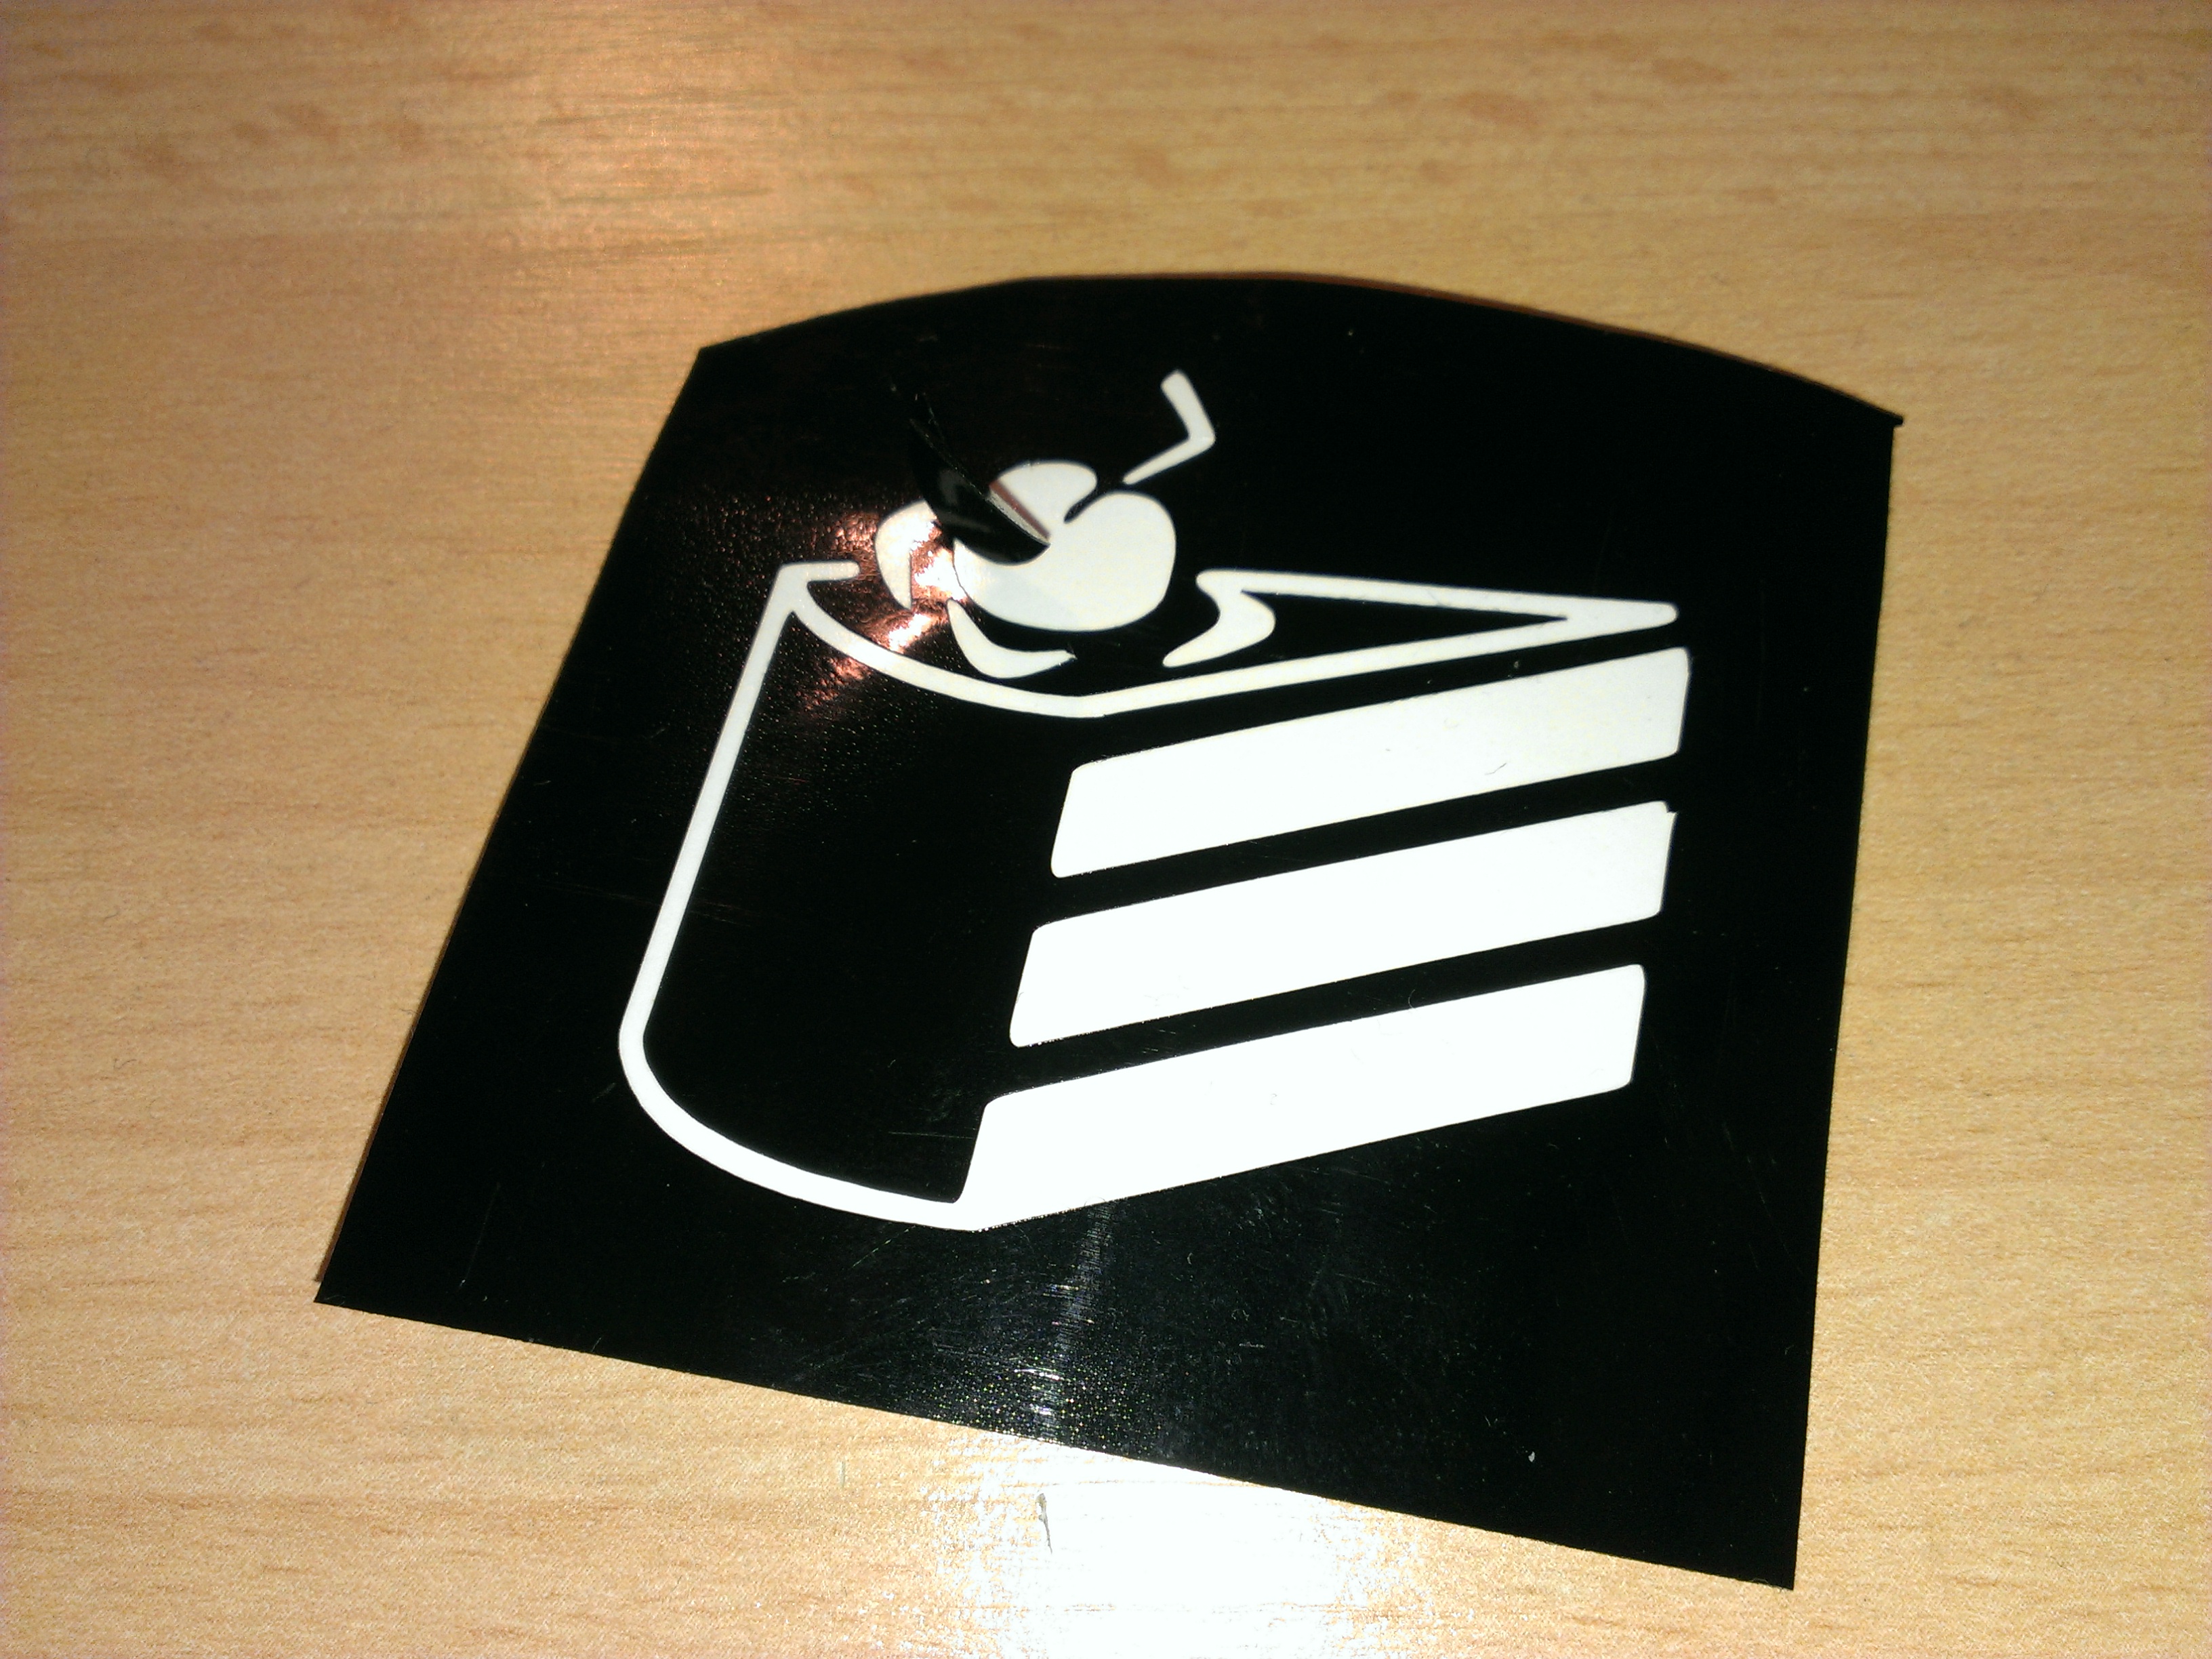
After appyling some inkscape magic and raging about some inkcut bugs (still don’t know what caused it) we now hold in our hands a piece of adhesive foil on substrate, that has the stencil cut into it.
“Prepare the black matter!”
Once it’s cut, you can remove the actual motif to get the stencil.
Doing this is actually called “weeding”, heh.
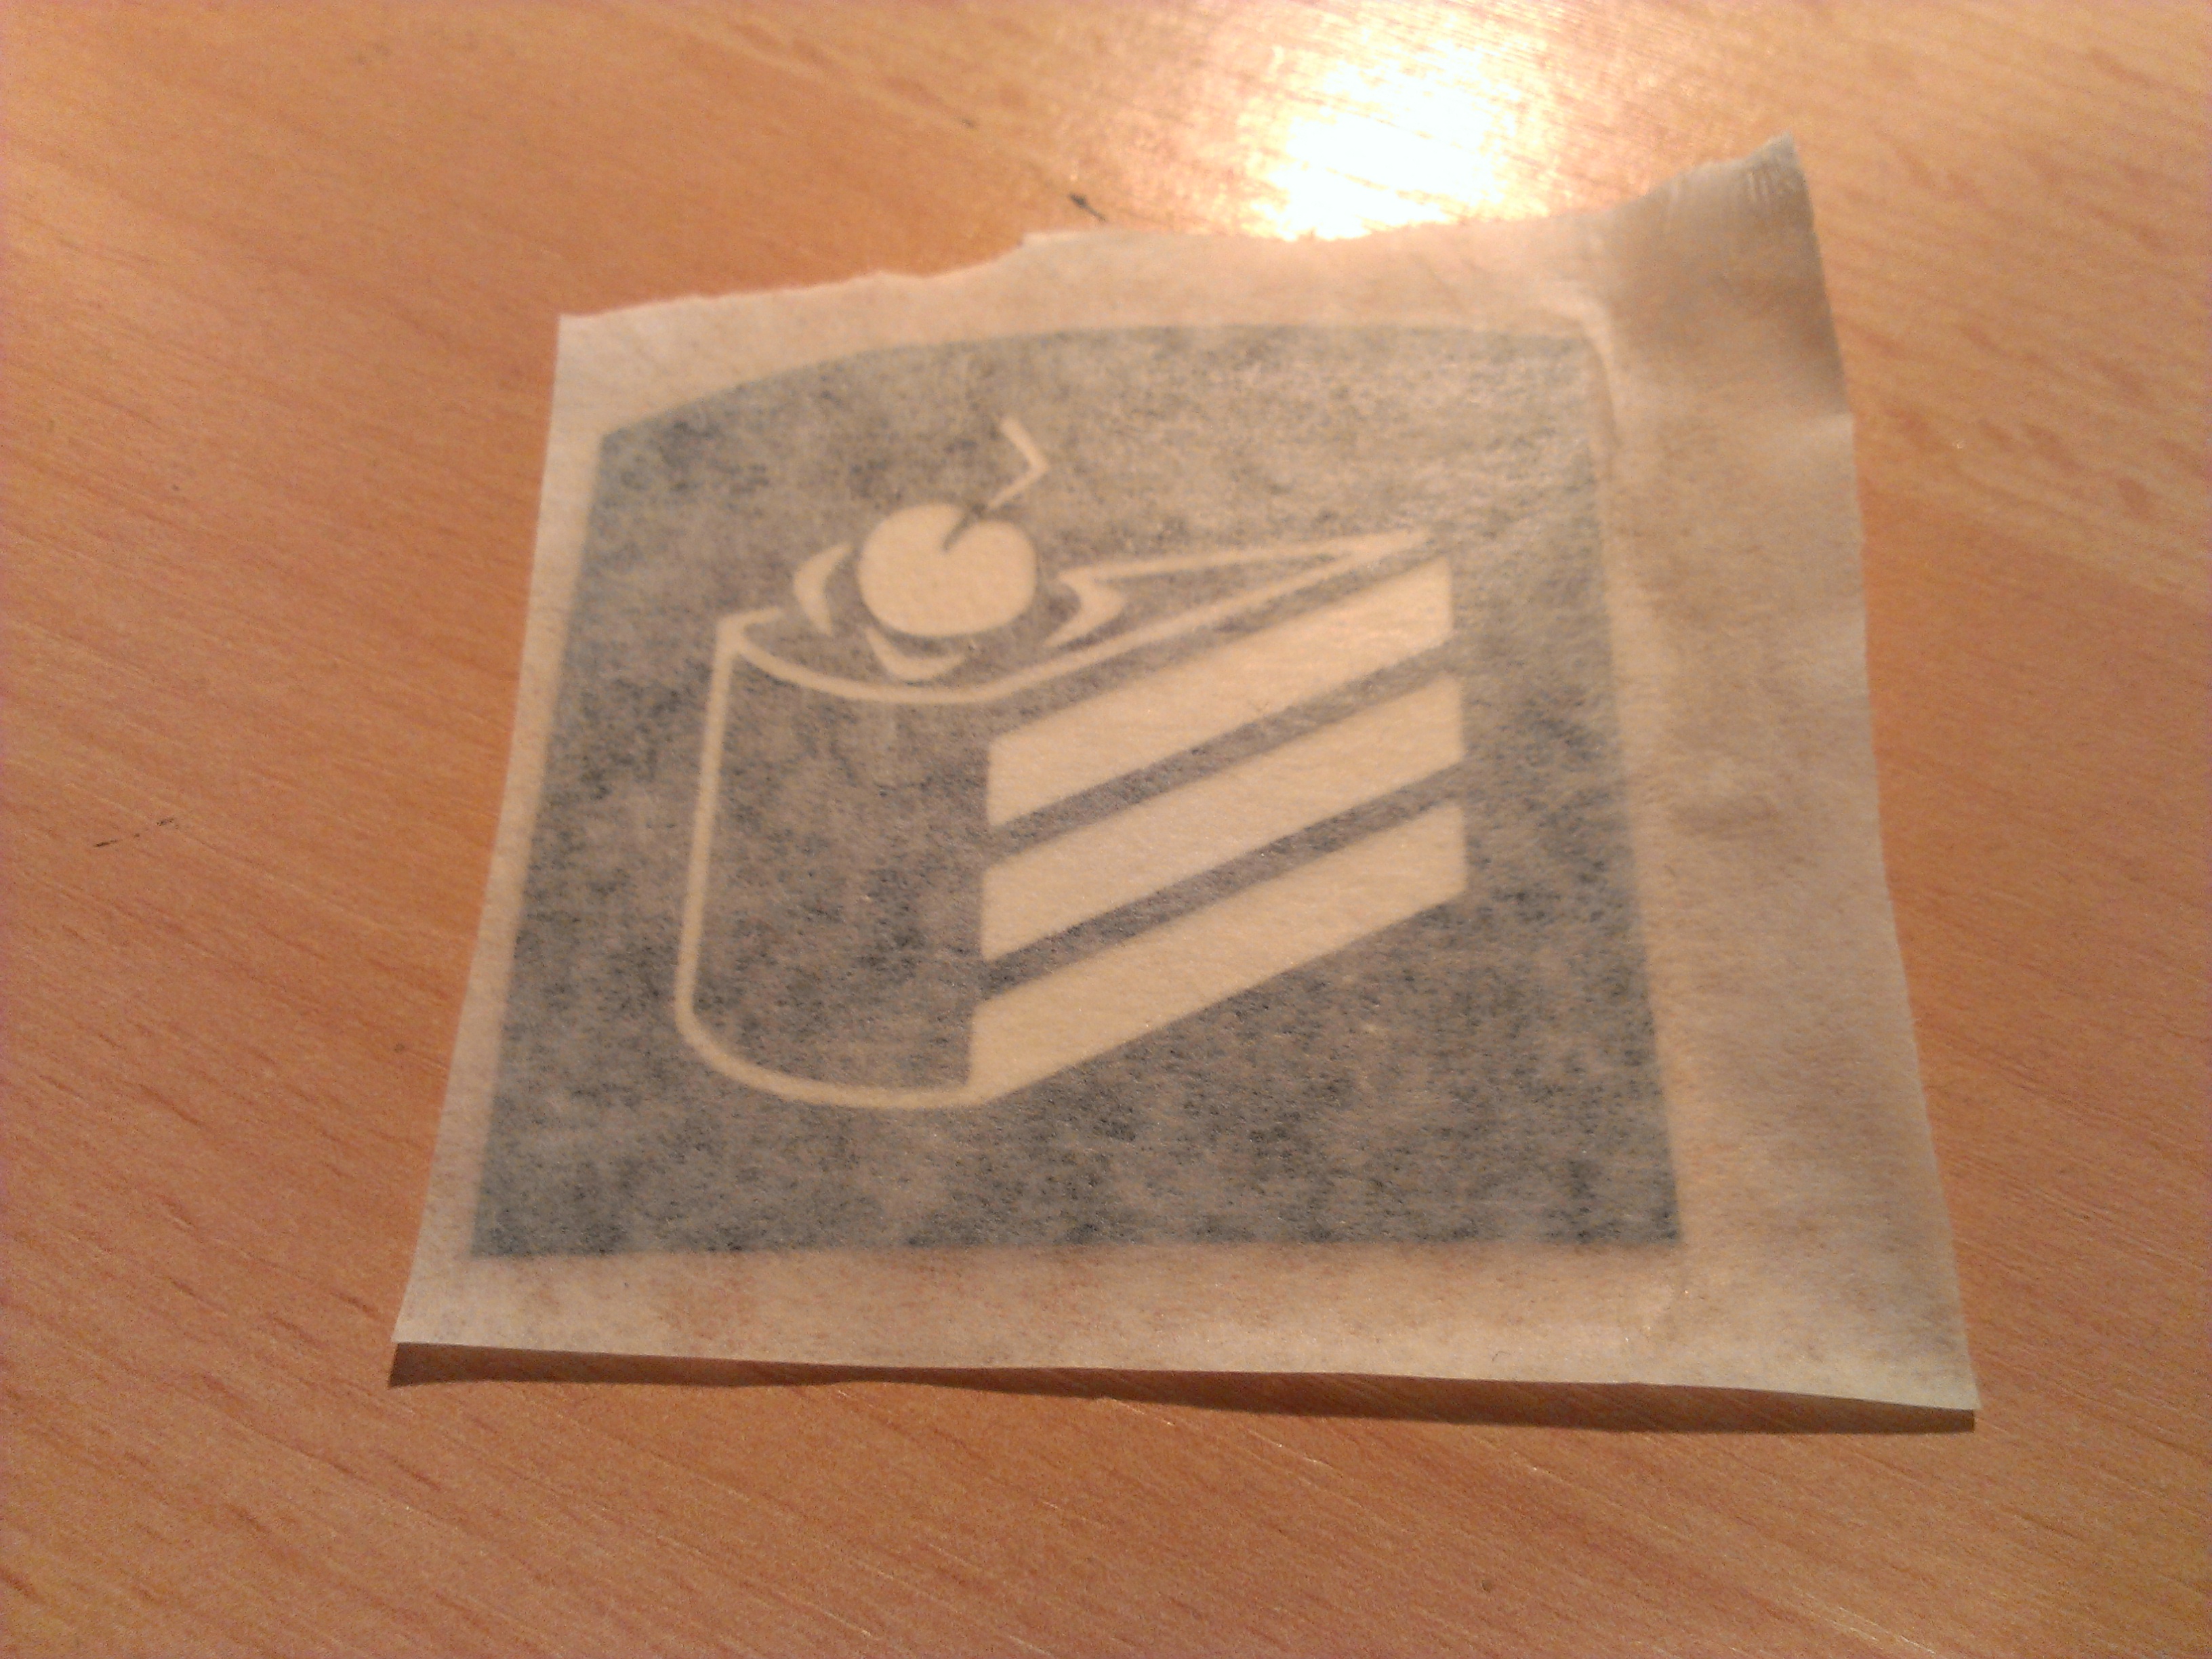
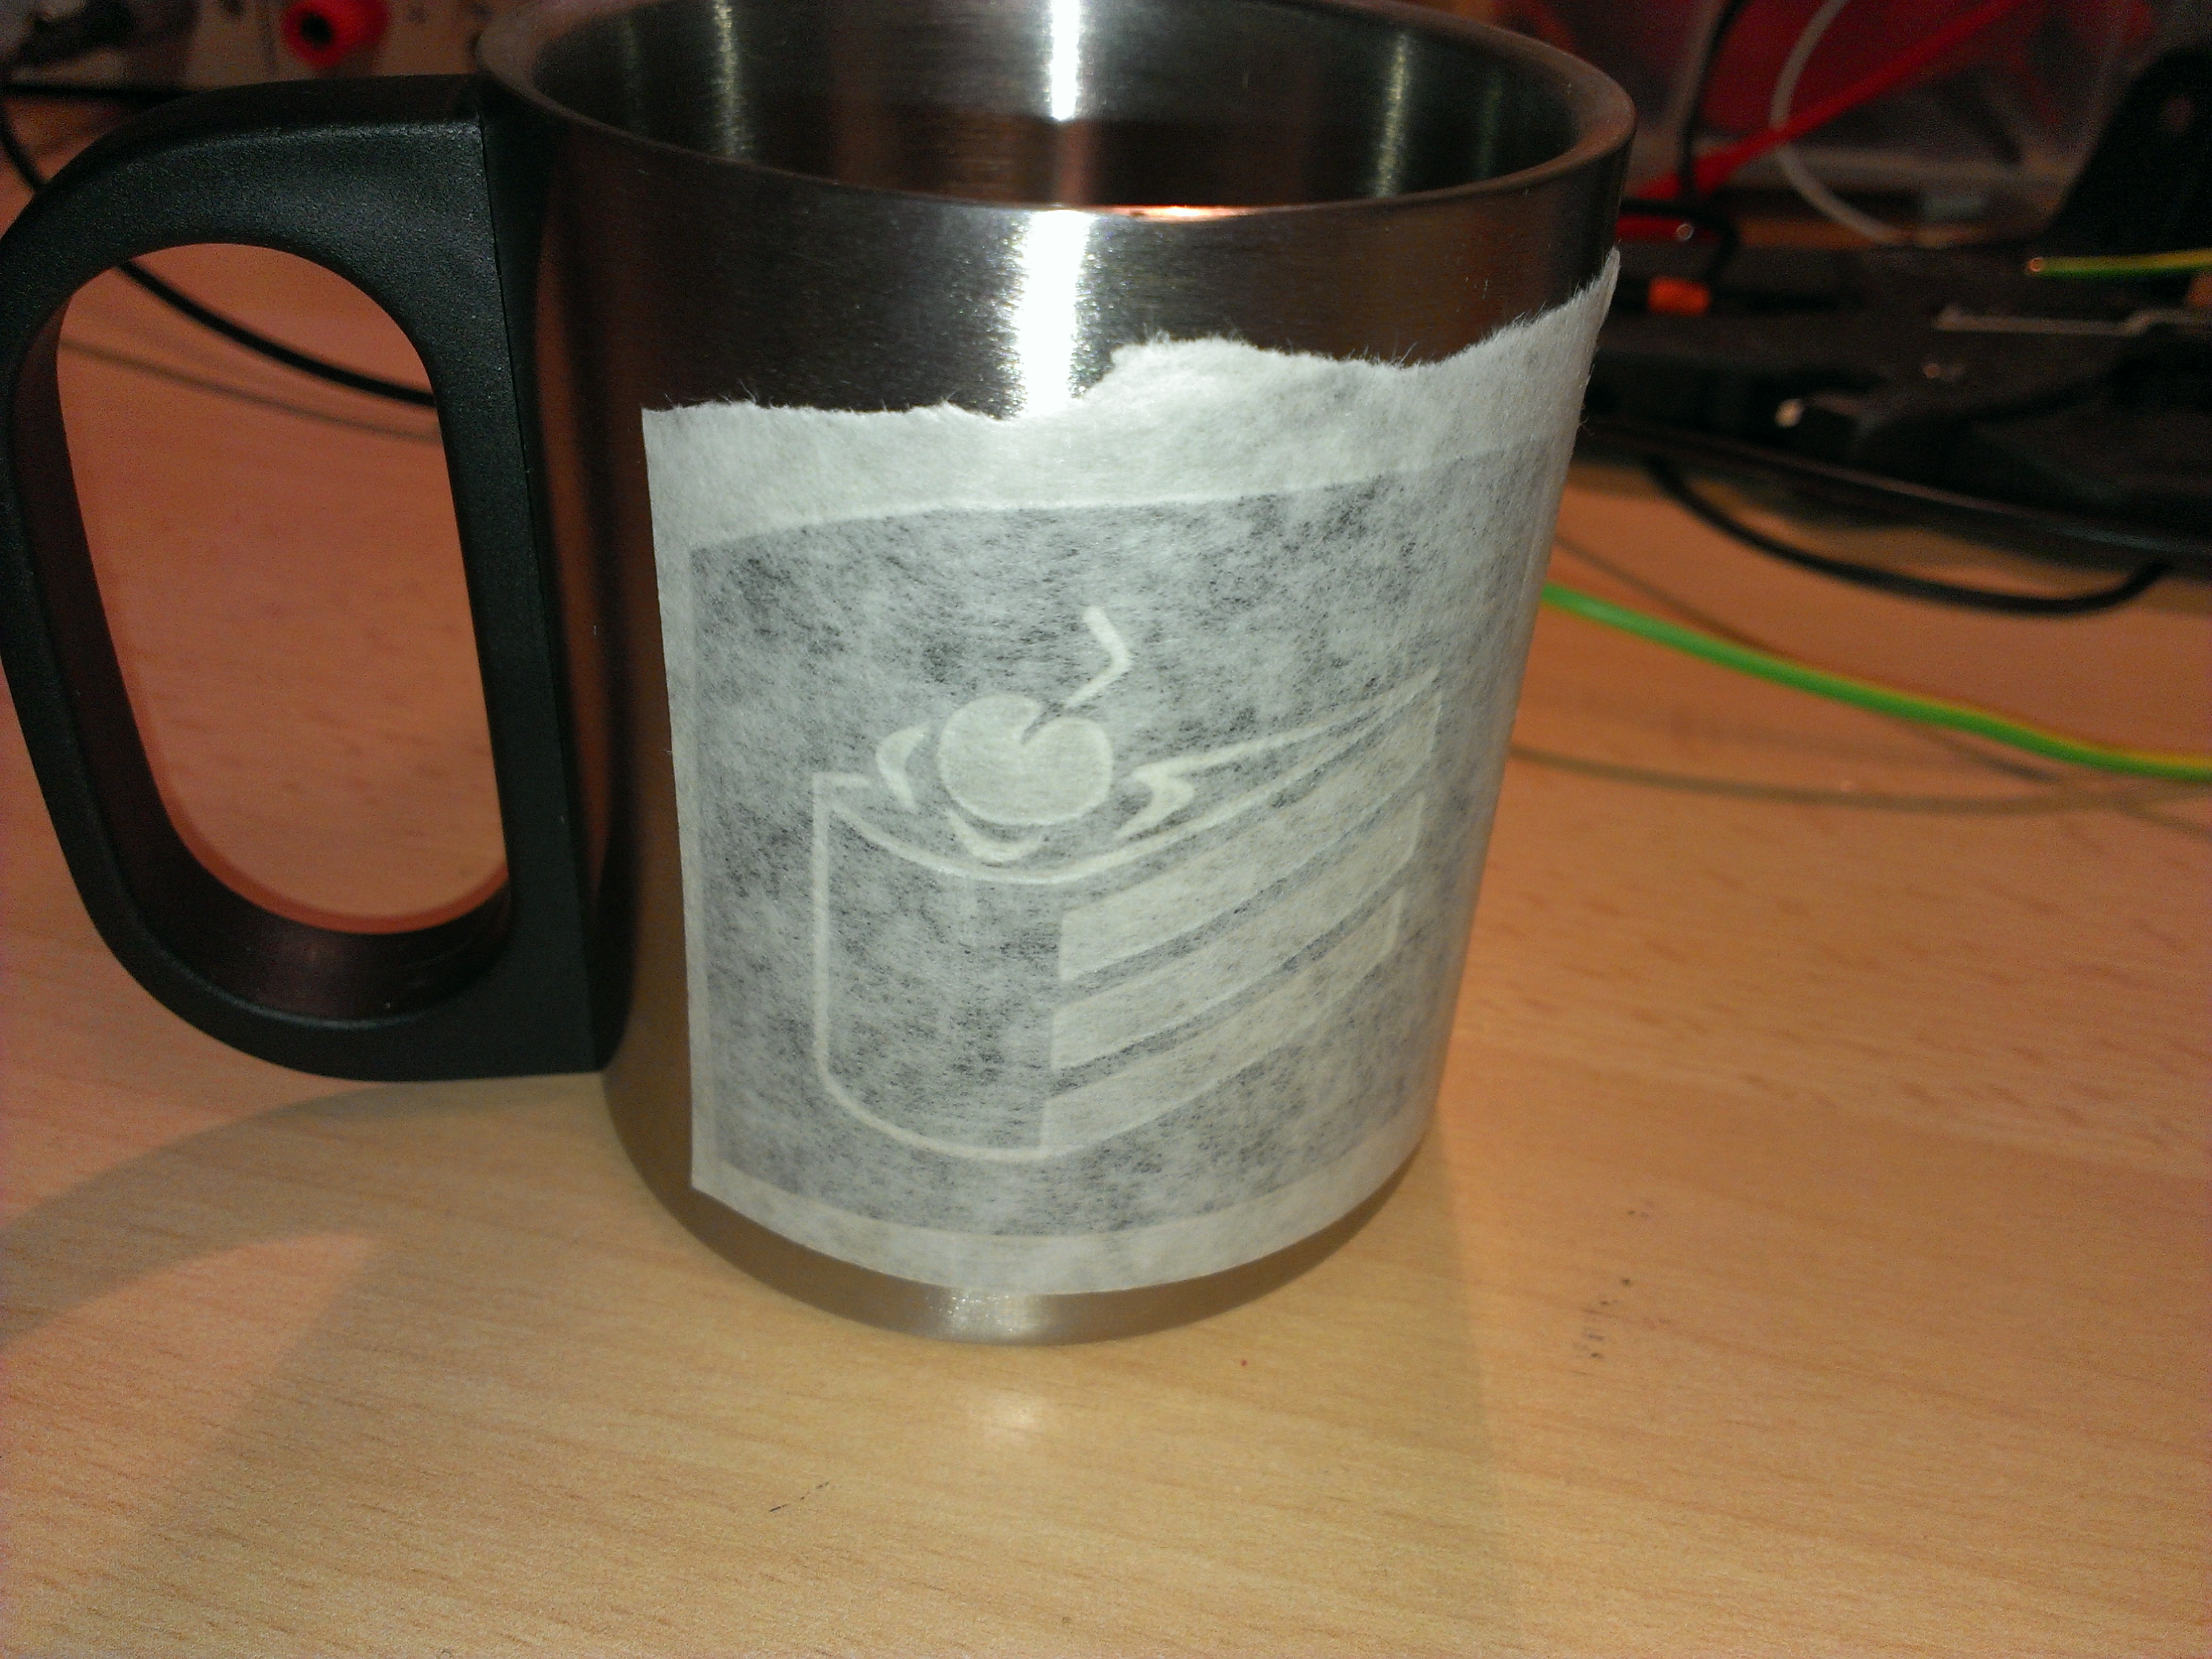
Now we add a layer of transfer paper (or foil) onto the mask.
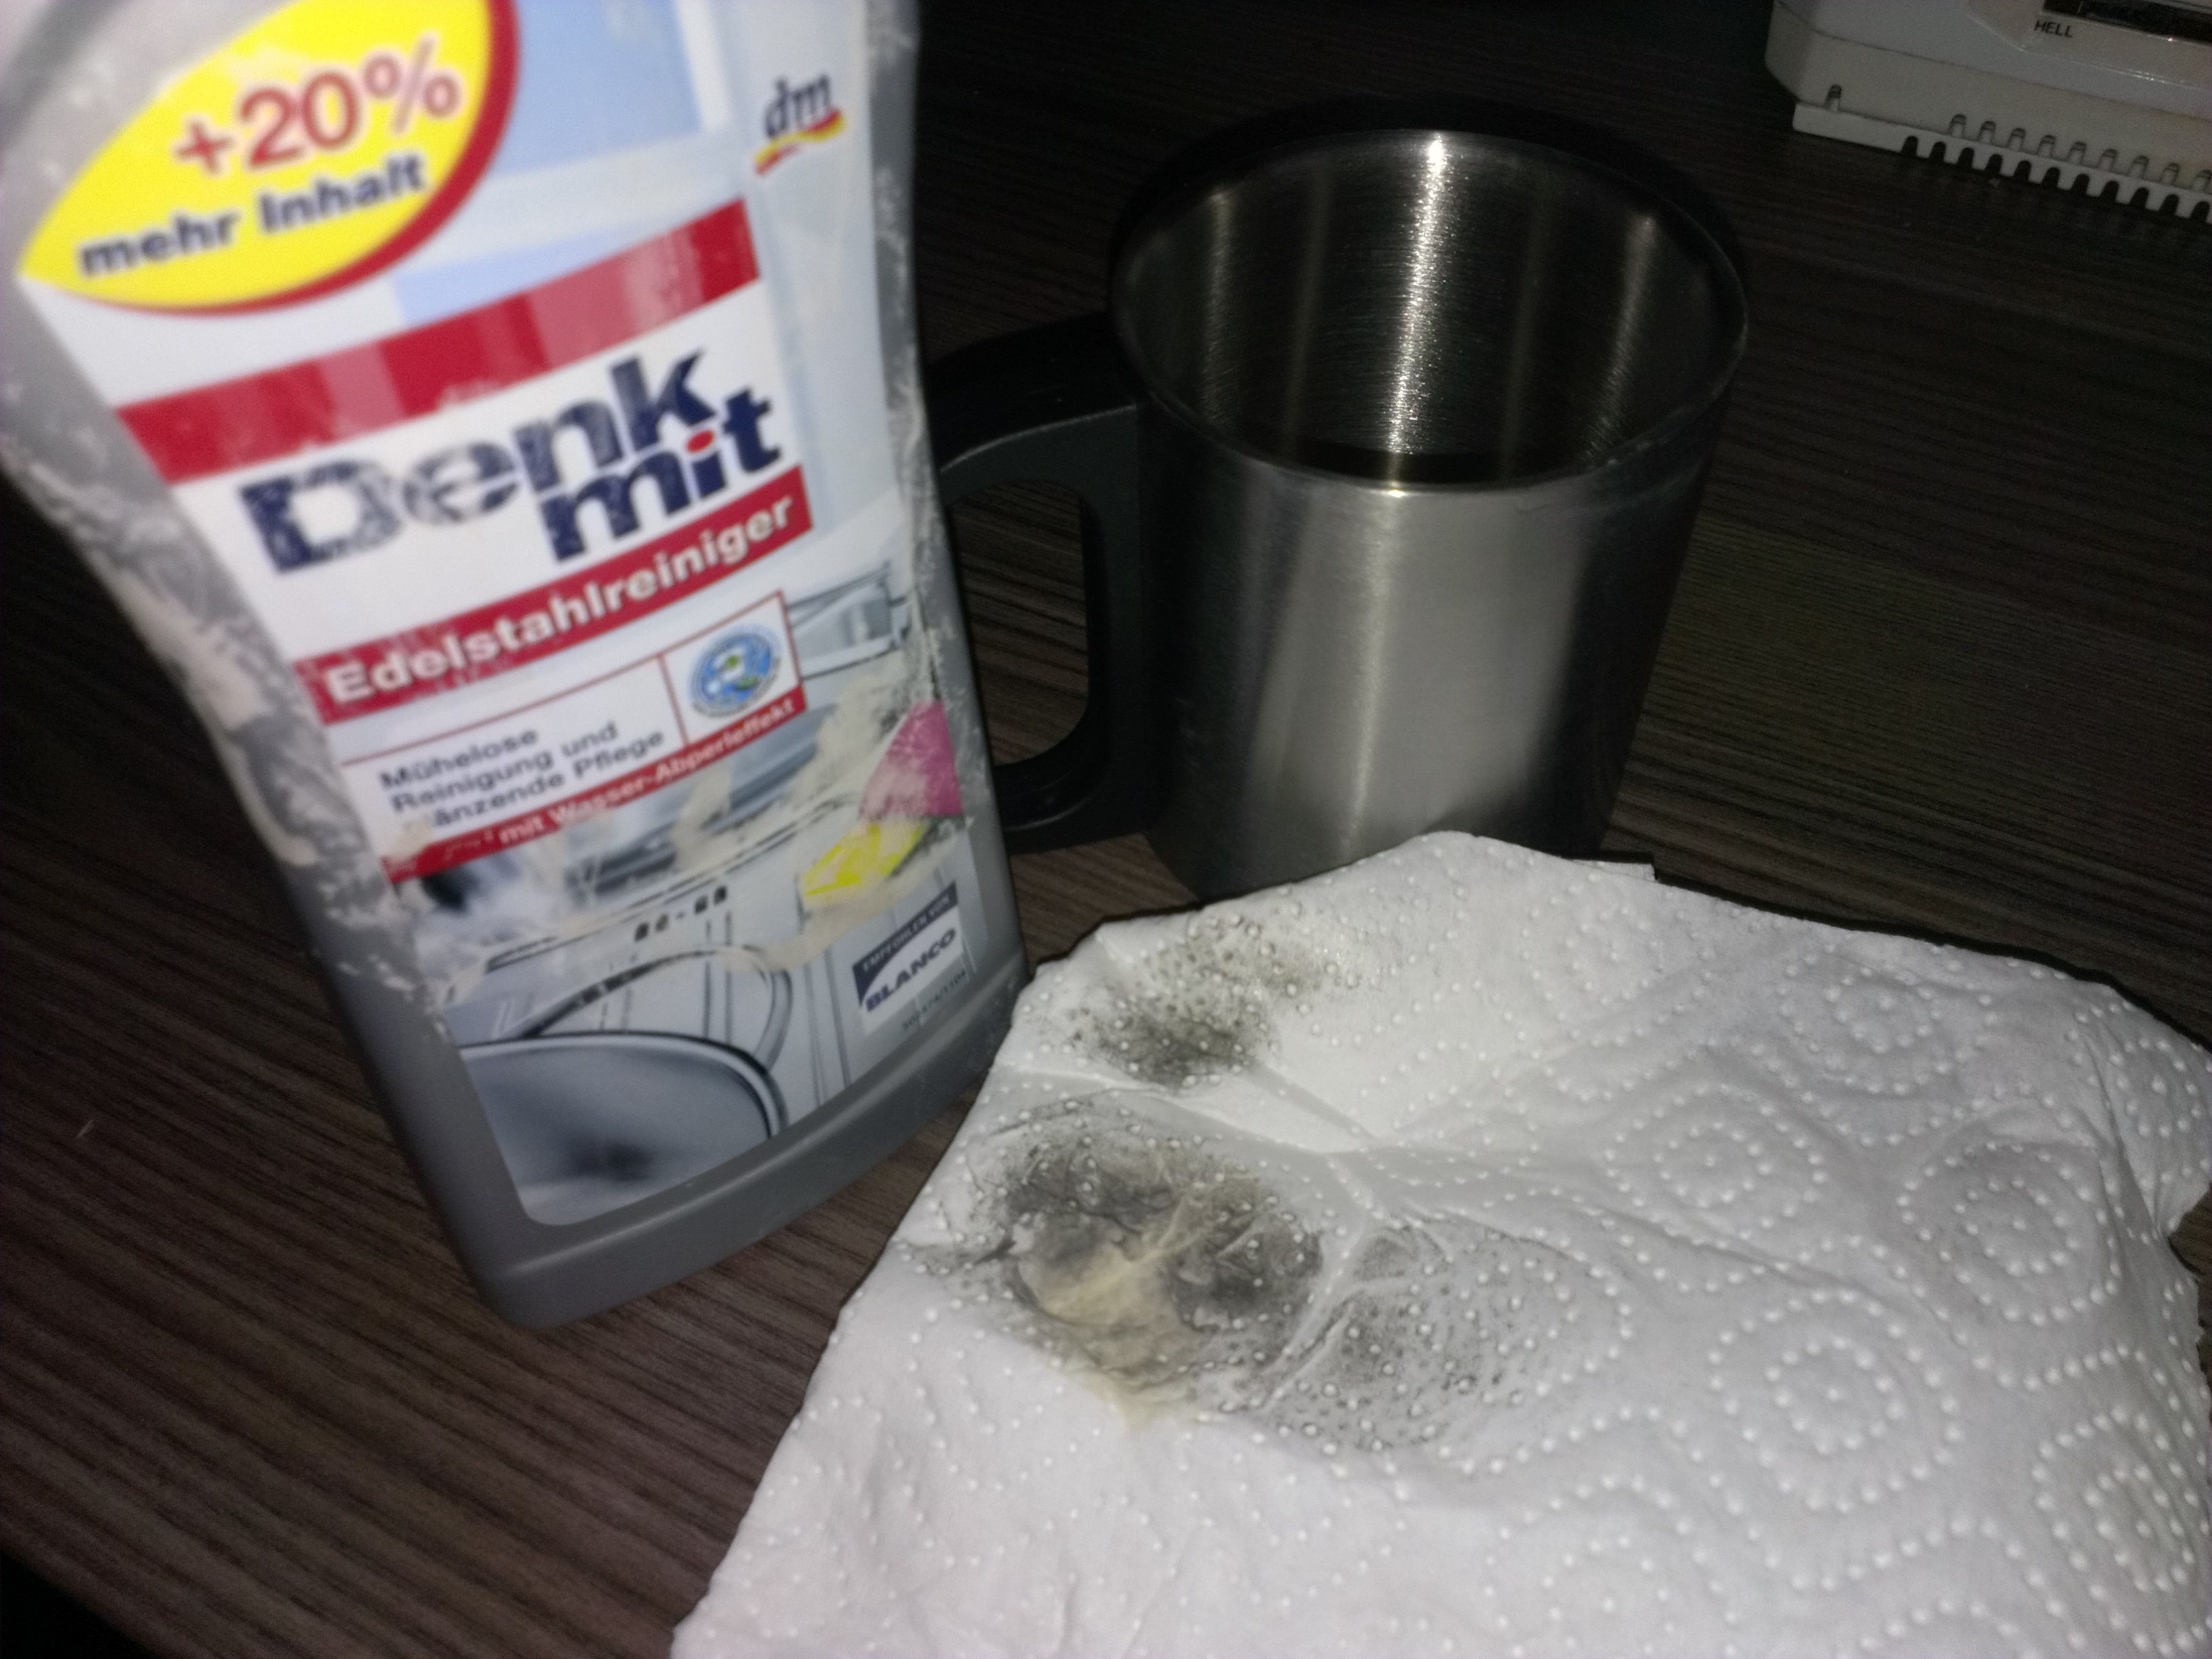
It might be prudent to ensure that the surface is as clean as possible to ensure best results, we used stainless steel cream cleanser for the cups.
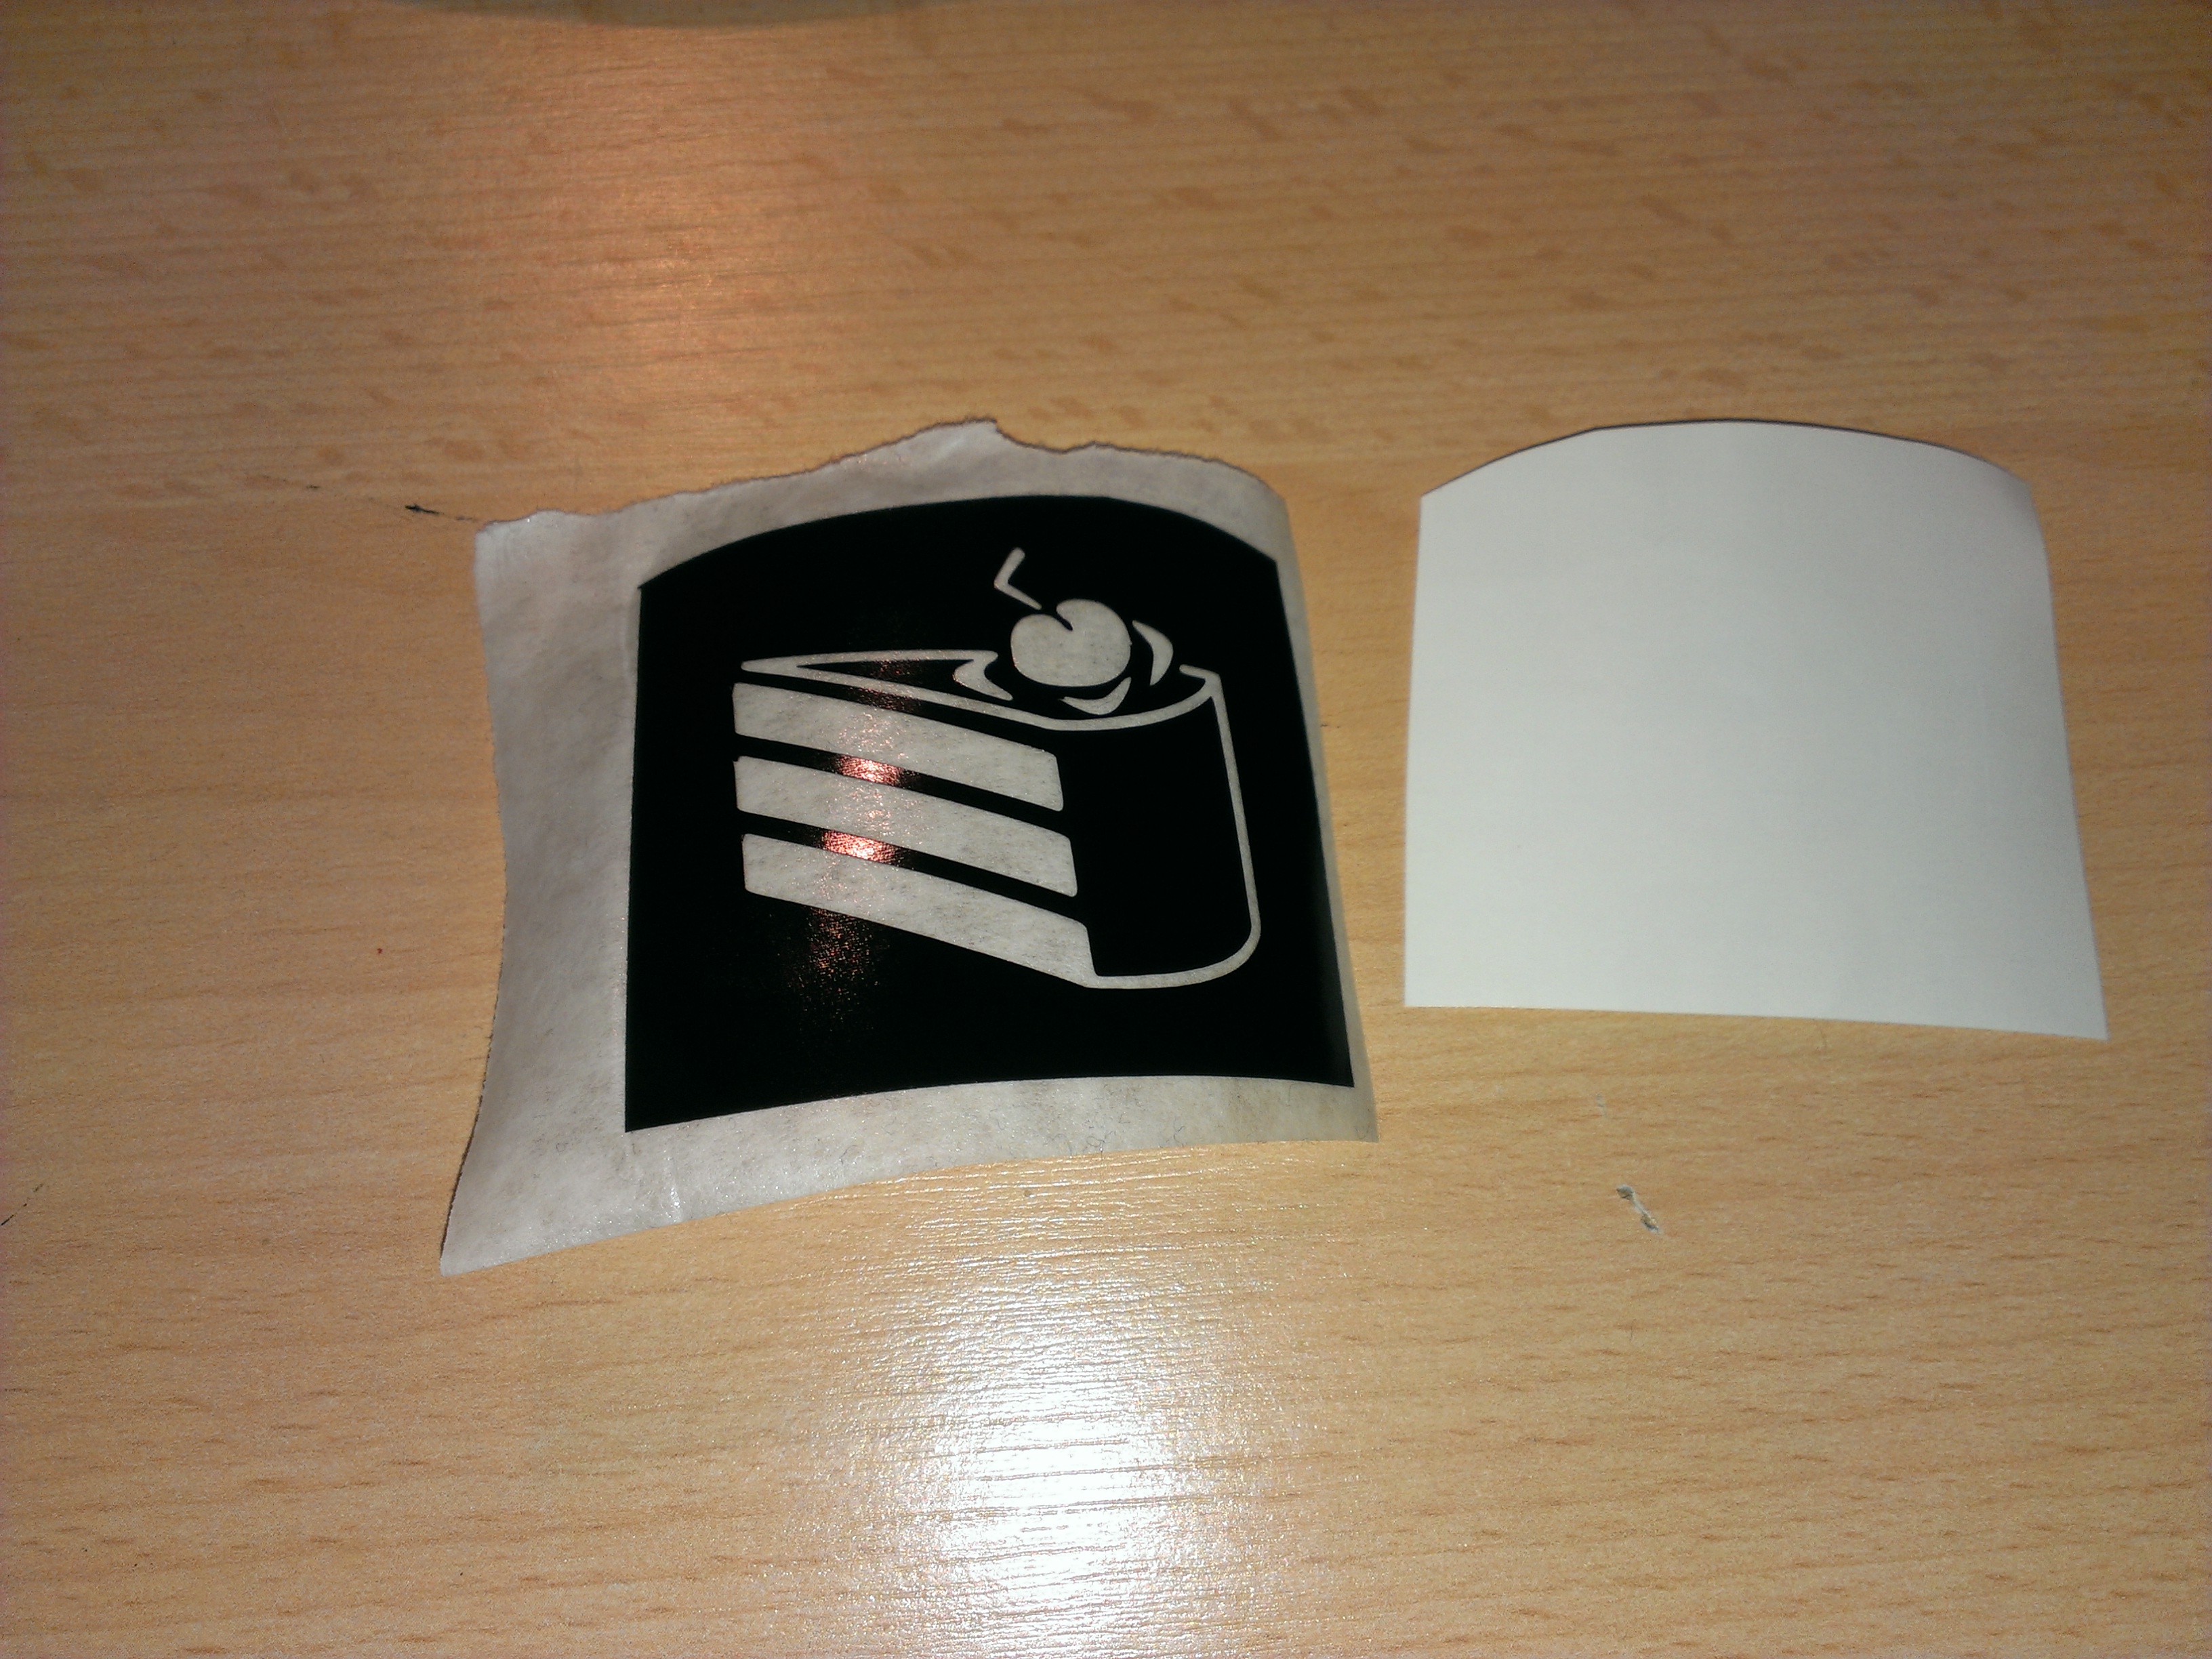
When you remove the substrate, make sure that all parts of the stencil stay attached to the transfer paper, the advantage of this method to have stencils without bridges is in this regard a small drawback.
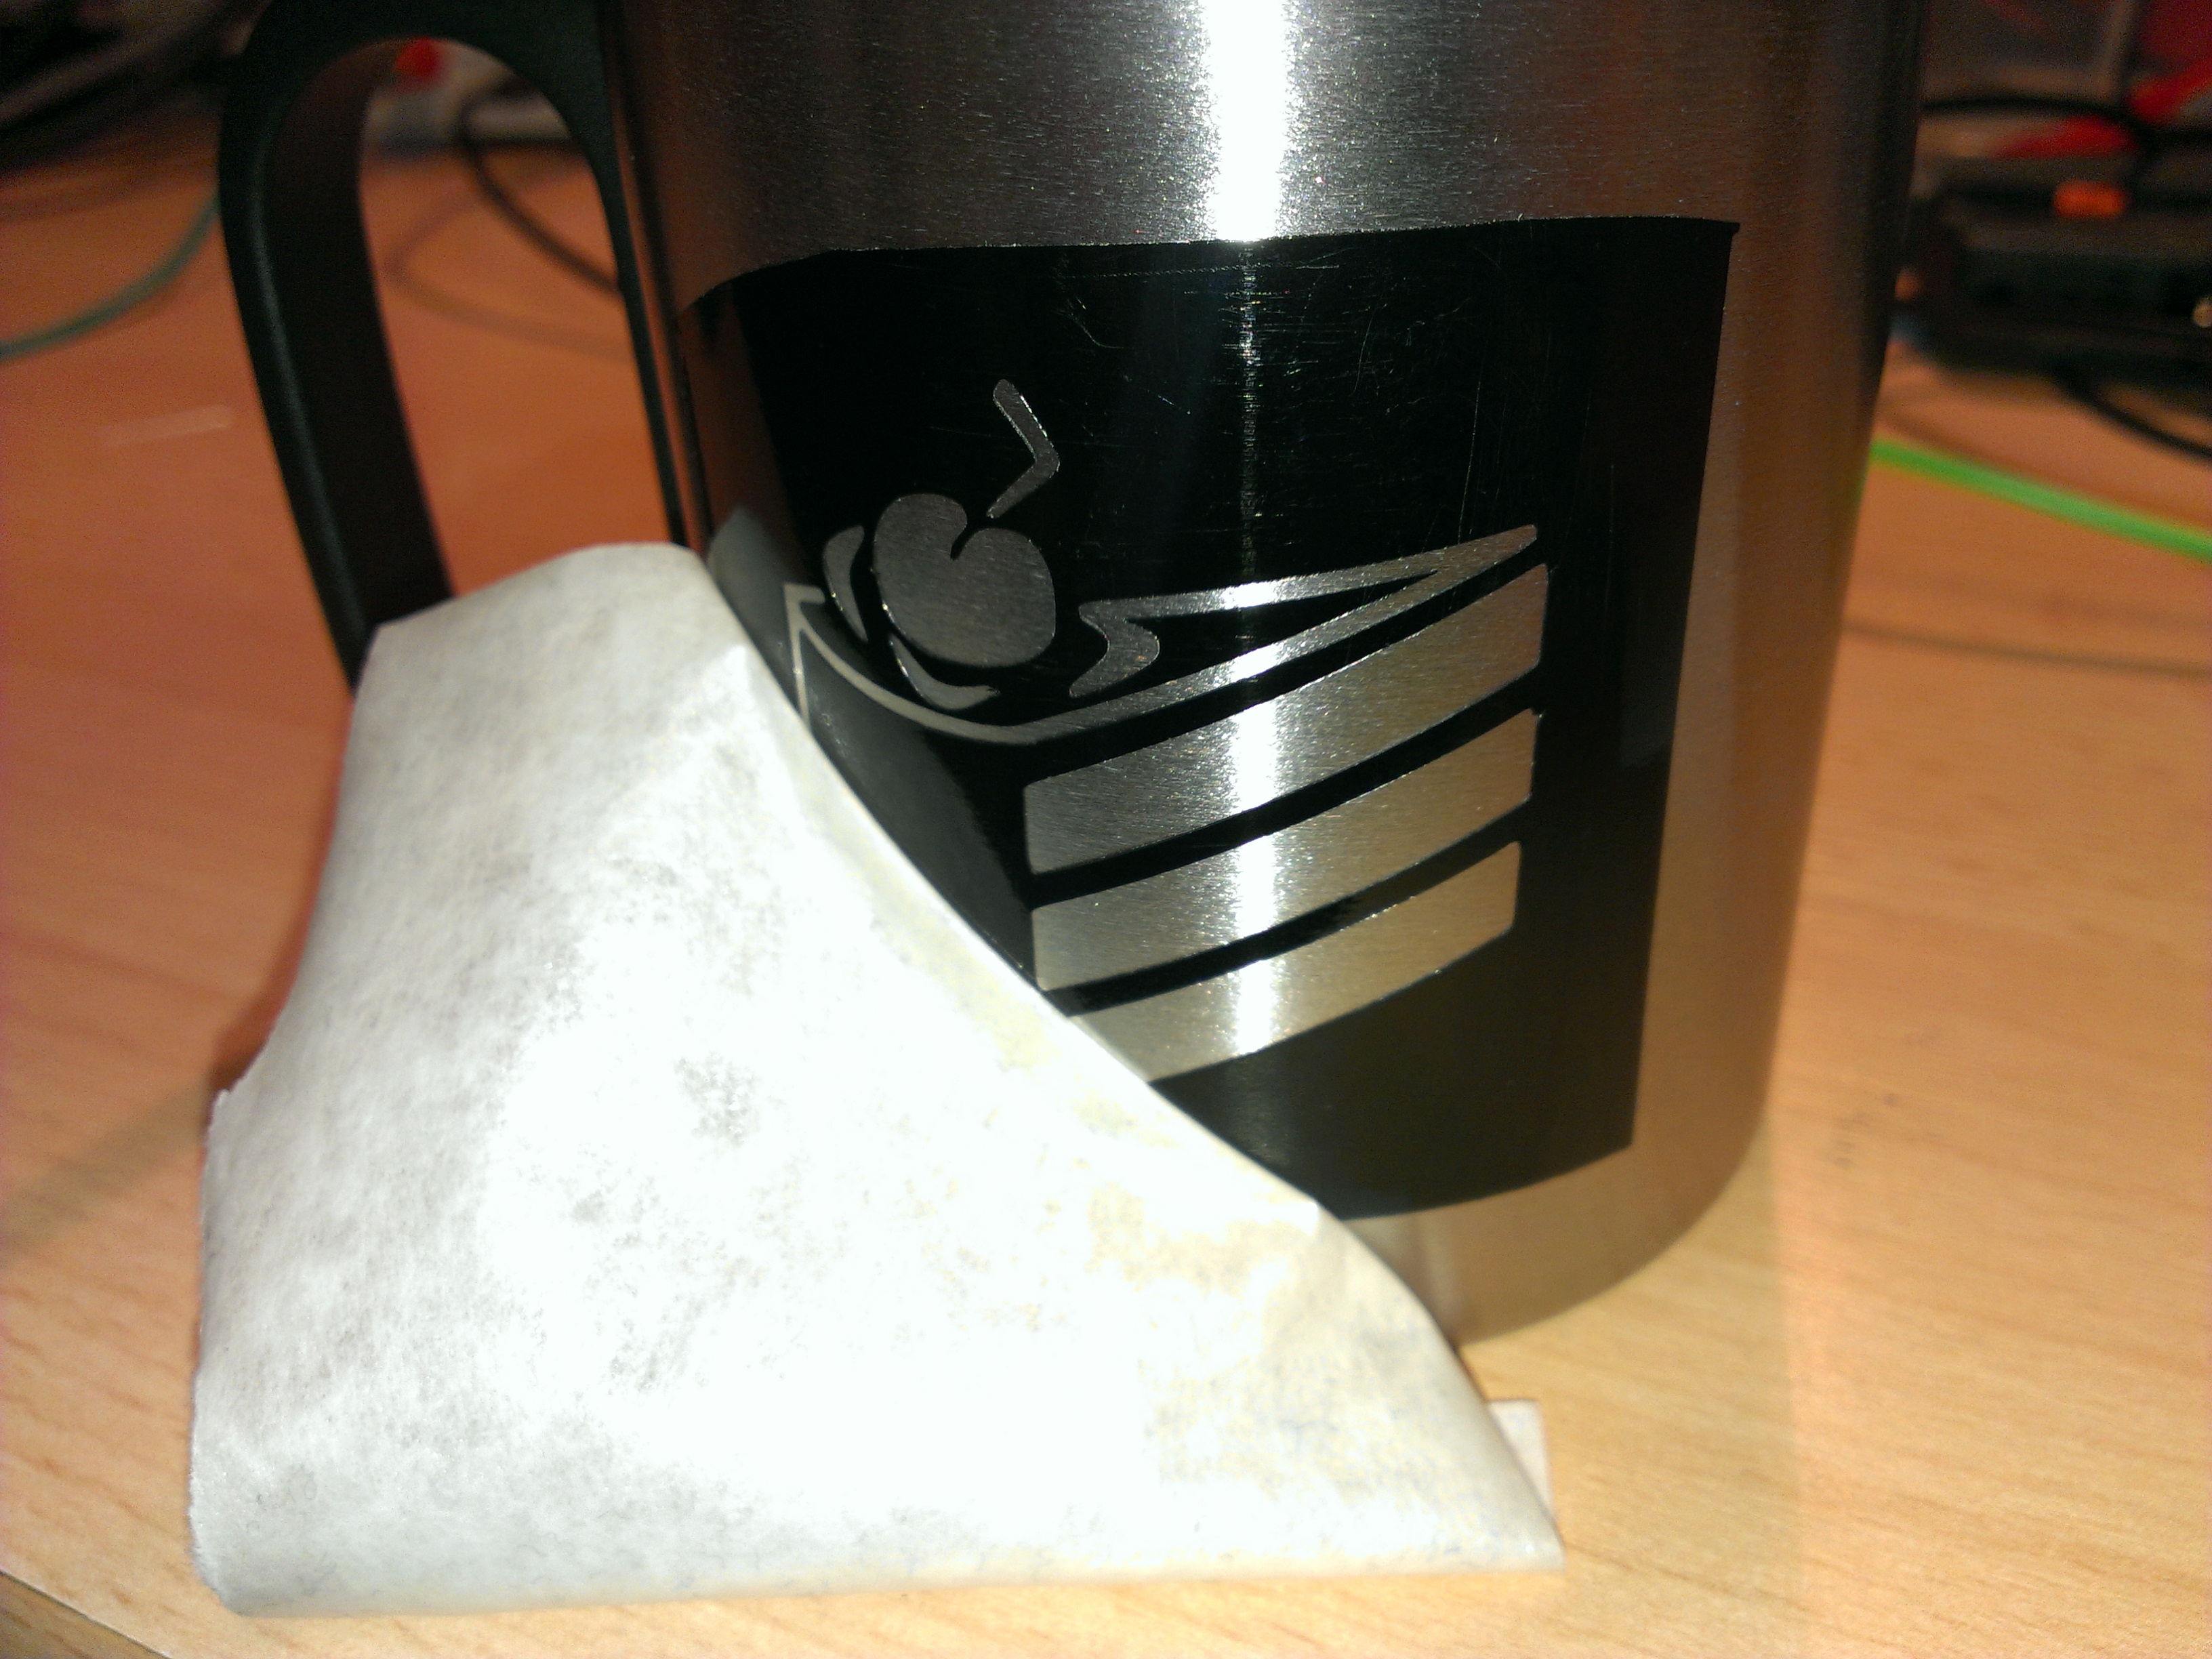
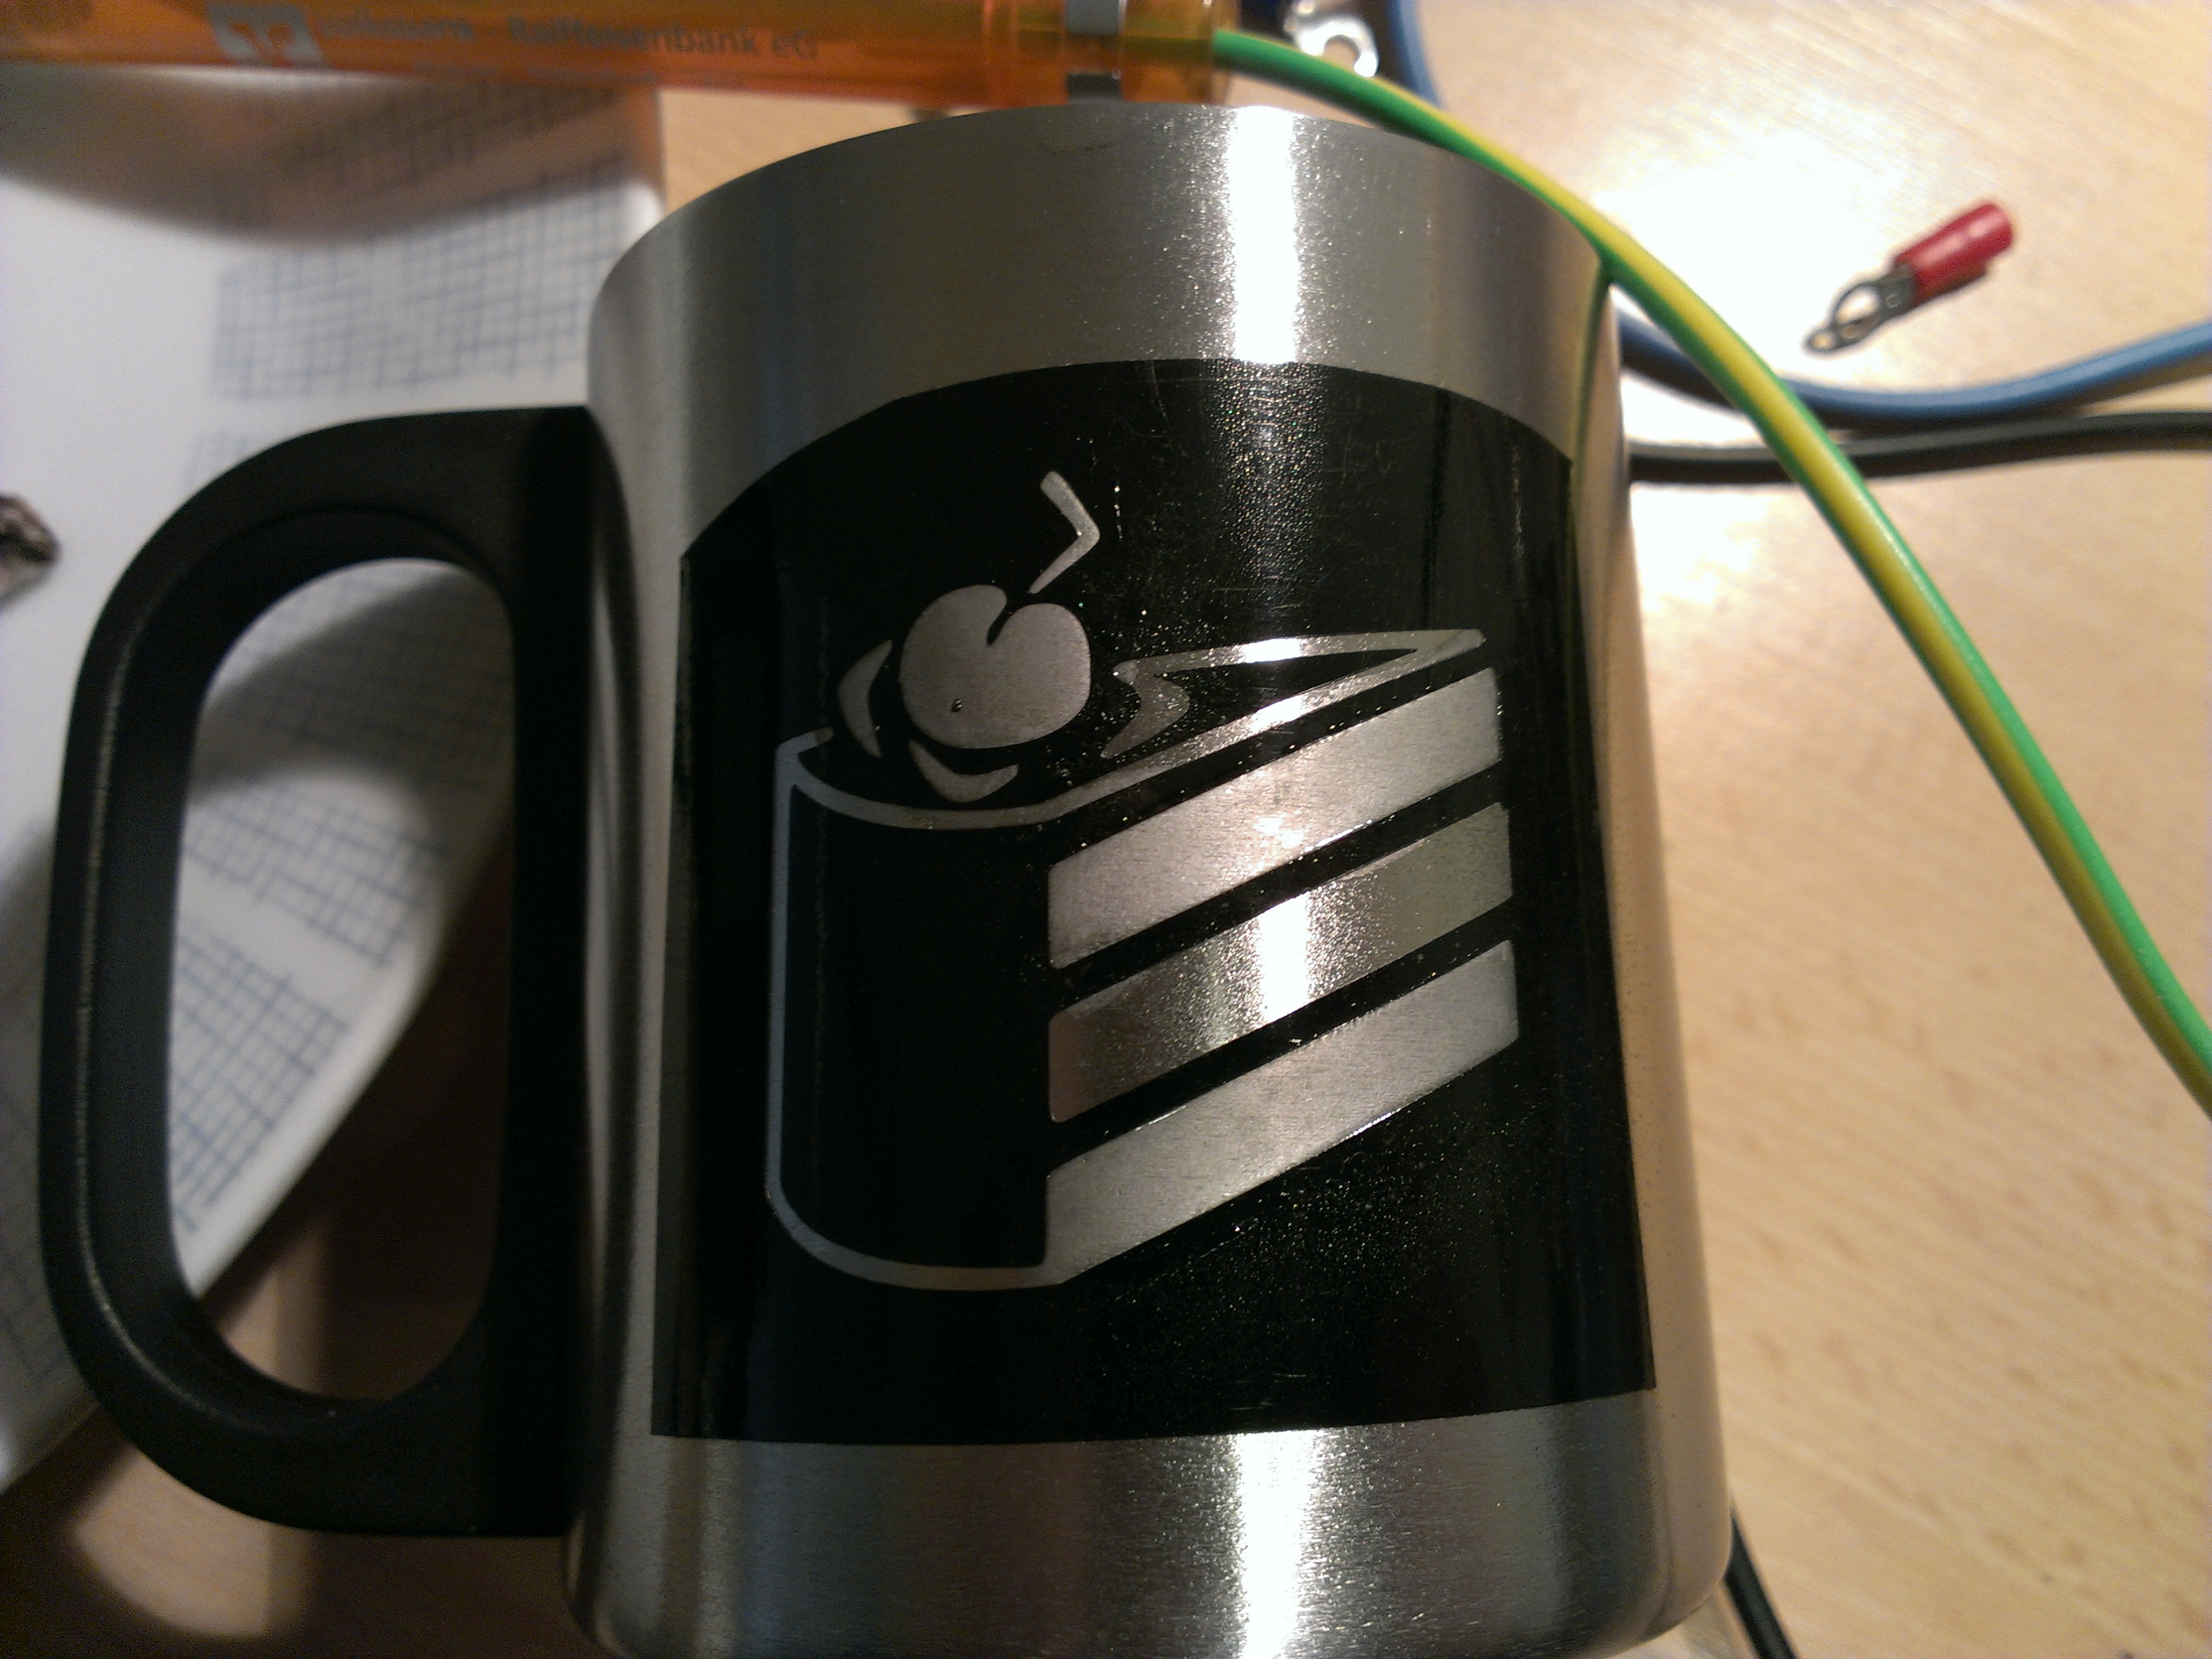
Apply the mask to the cup and remove the transfer paper.

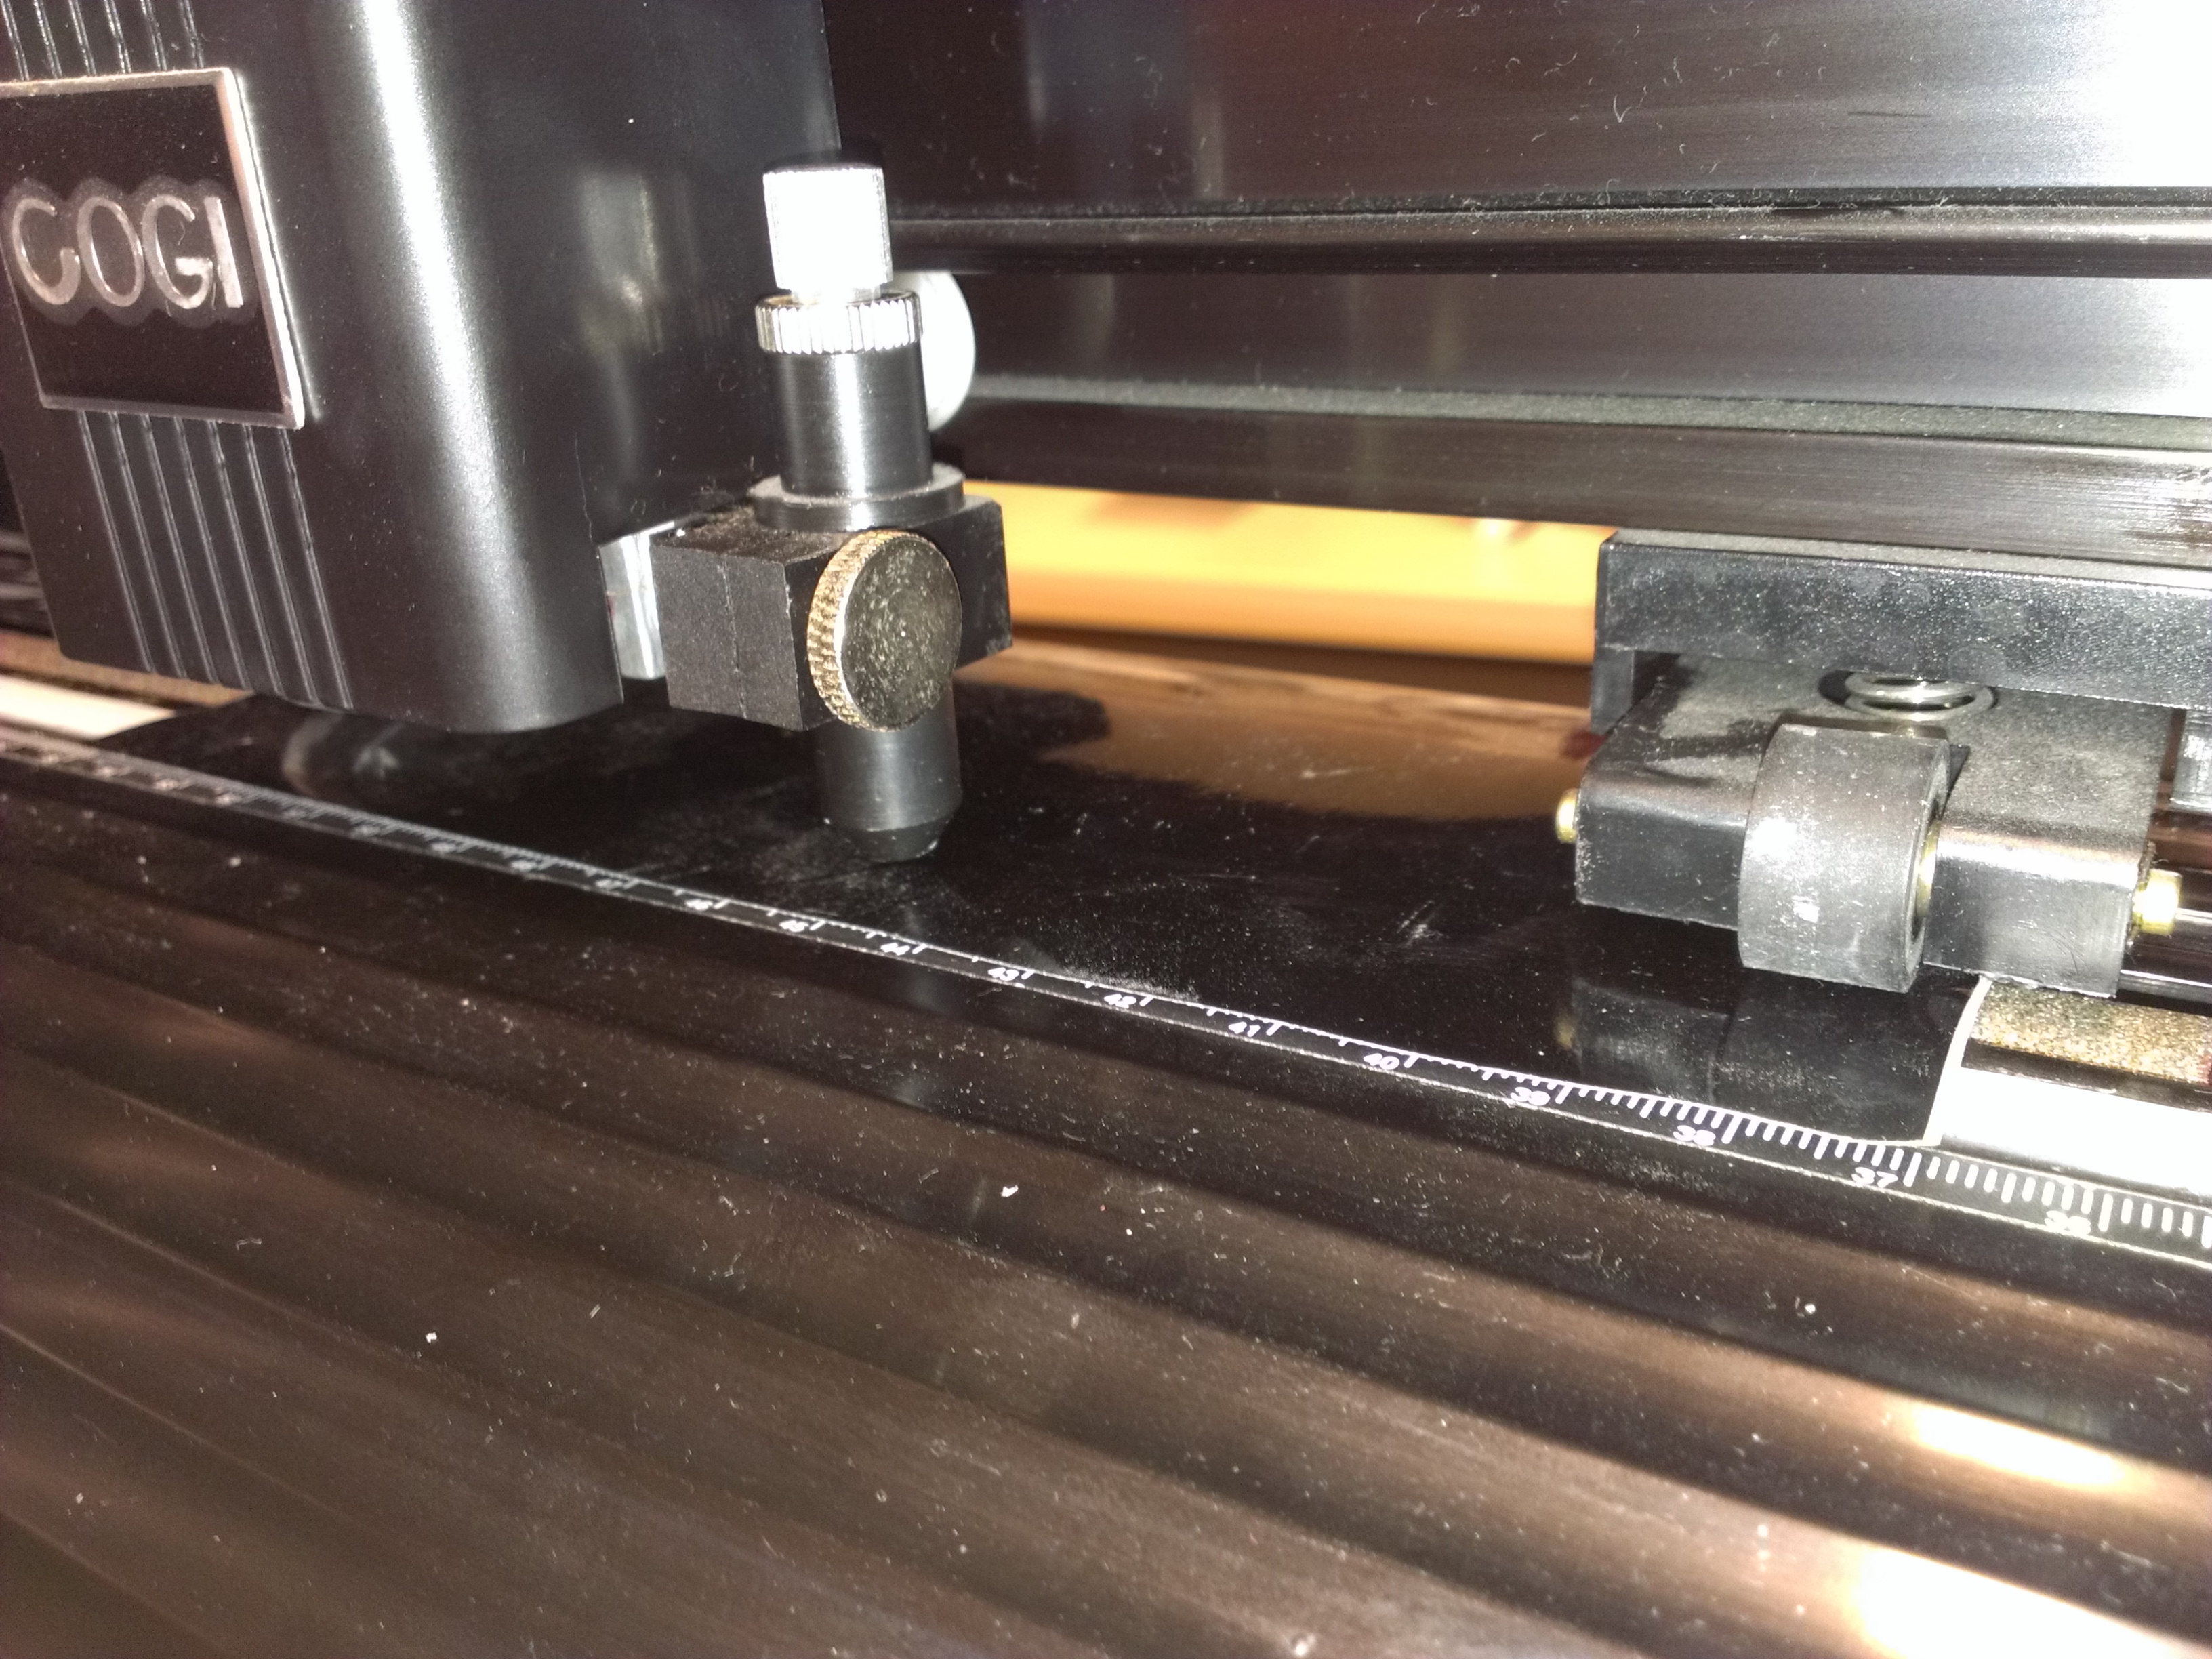
Now comes the fun part that itsgus described: etching. First we need an acid (vinegar does the job) and an electrolyte (salt) you really don’t need much. As for the ratio: We just added salt and stirred until the vinegar was saturated.
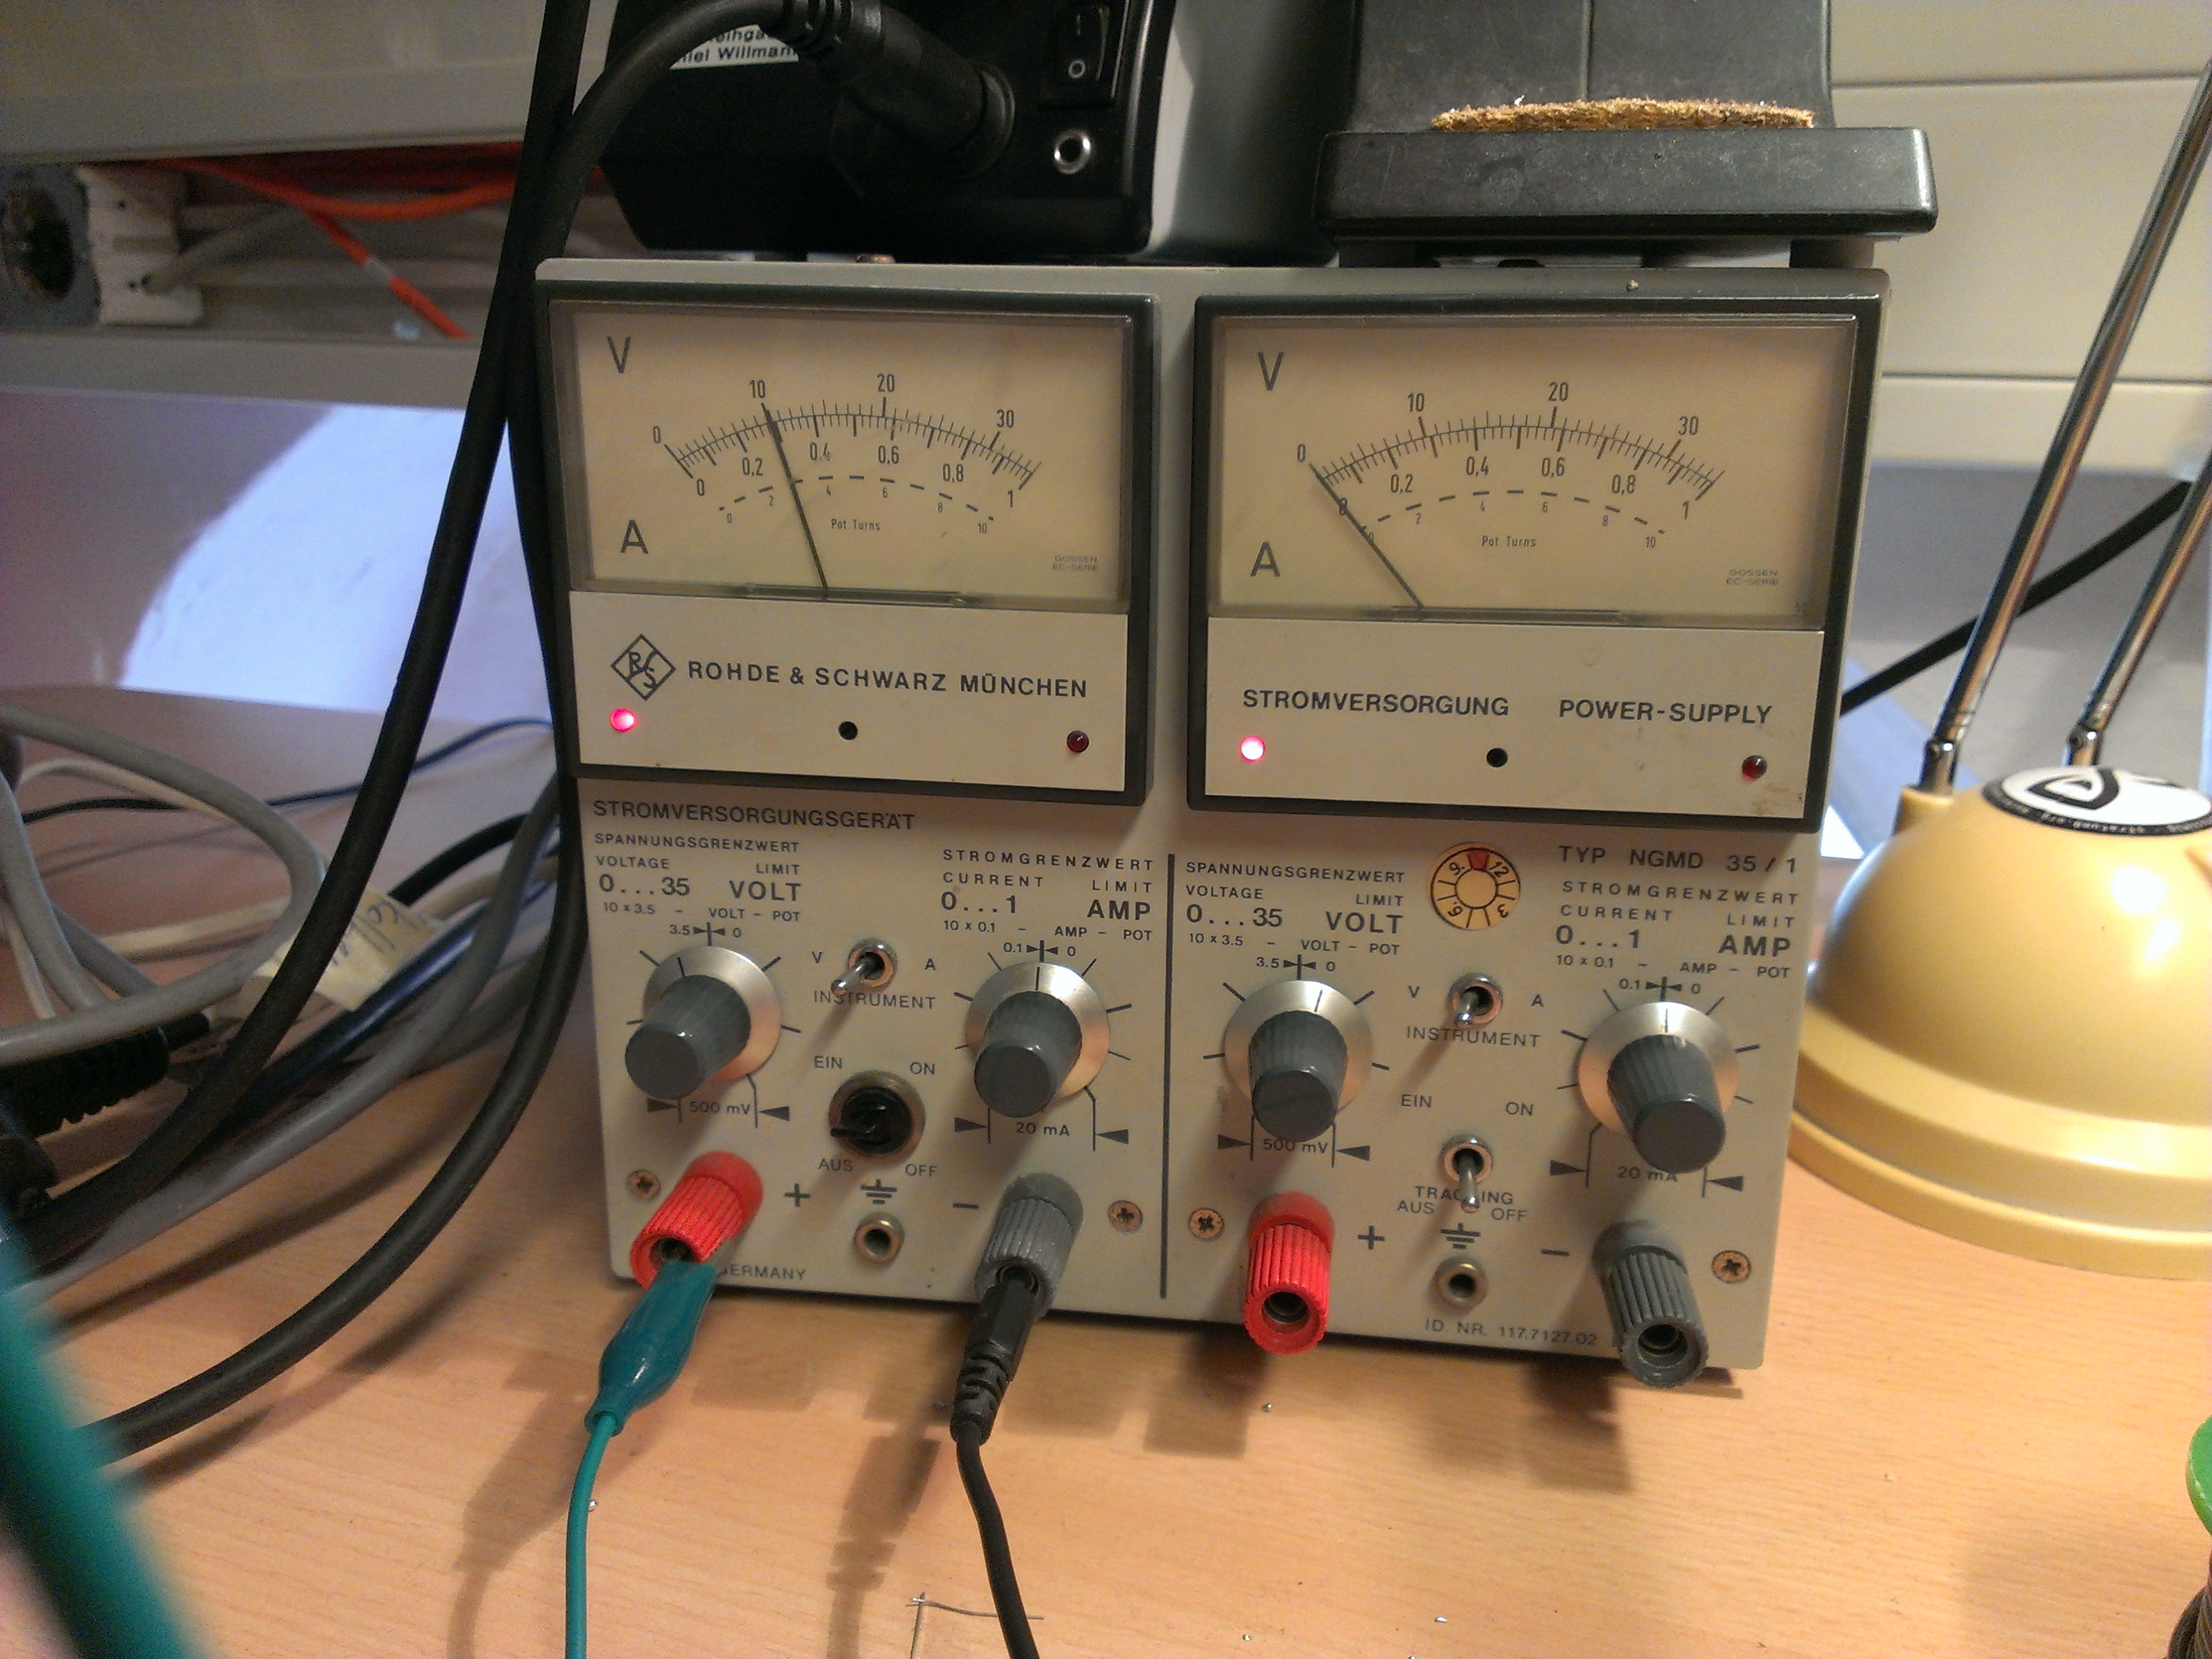
You will need a direct current for this to work, itsgus used a 9V block battery, we had a DC power supply at hand. More important is the polarity! Attach the positive pole to the cup and the negative pole to your advanced etching contraption. A Q-tip works fine. We built ourselves a little tool for this purpose.
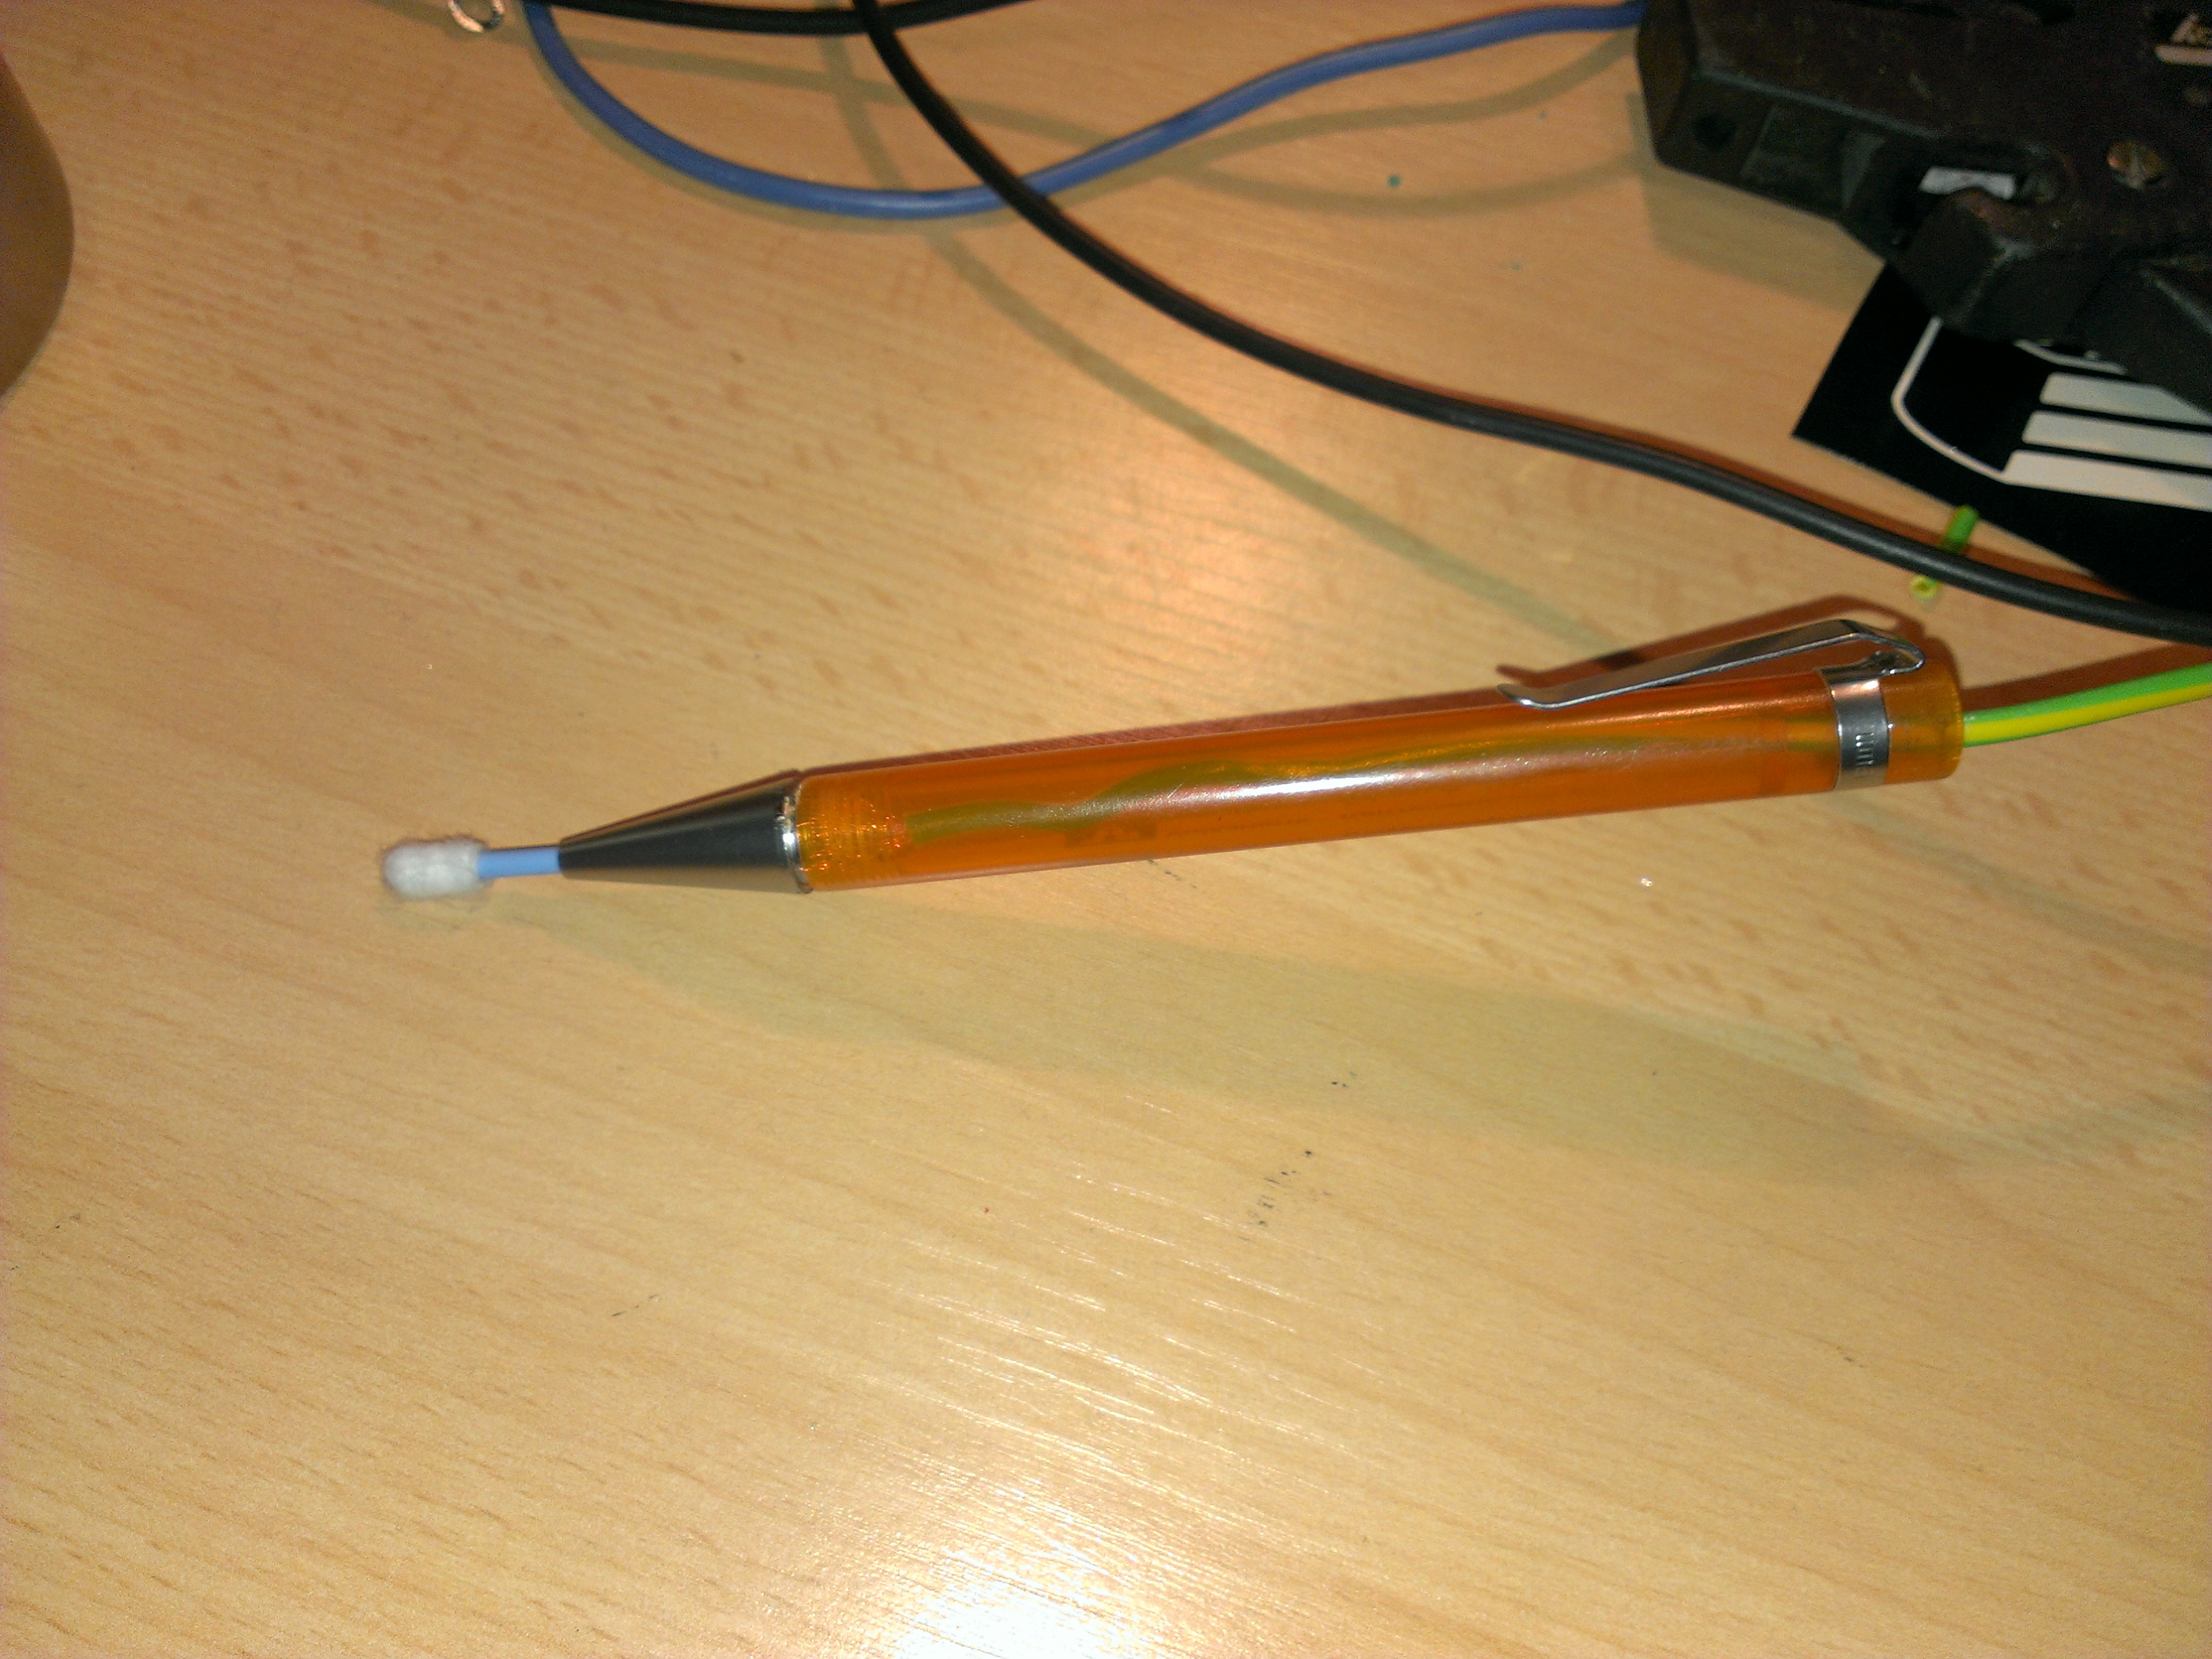
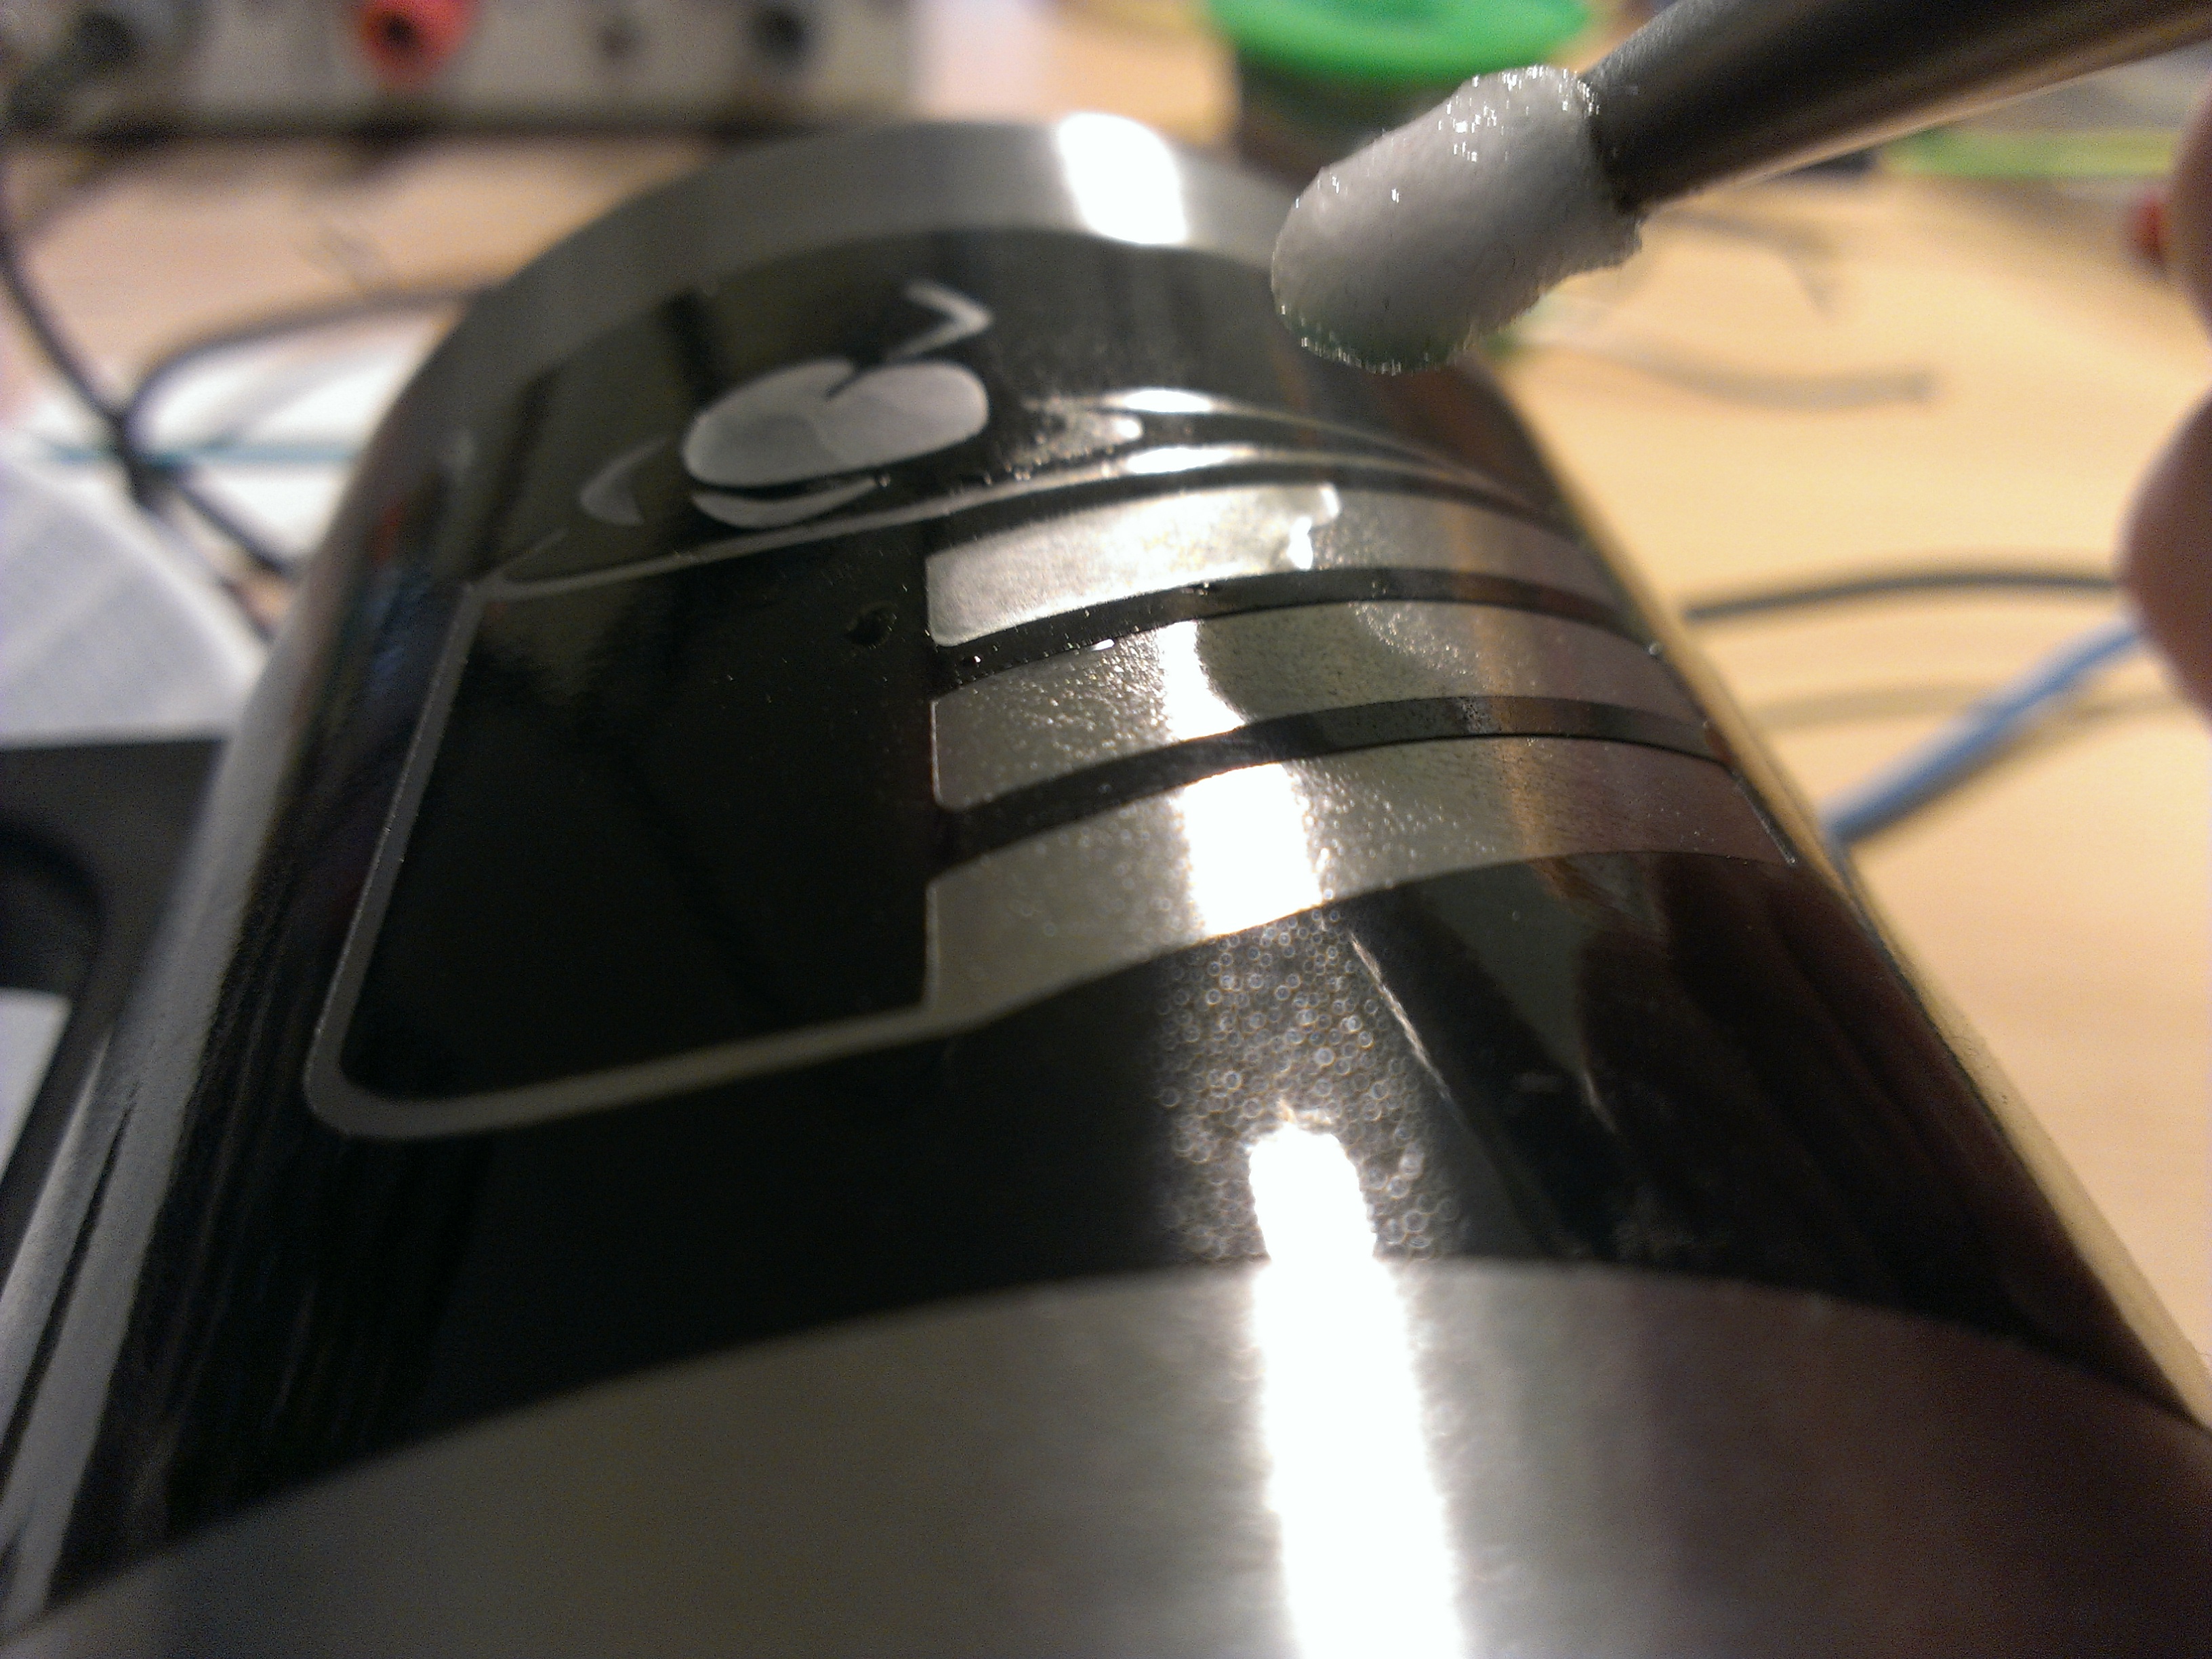
Dip the tip into the solution and stroke it over the mask.
You don’t need to apply any pressure since all the work is done chemically, not mechanically.
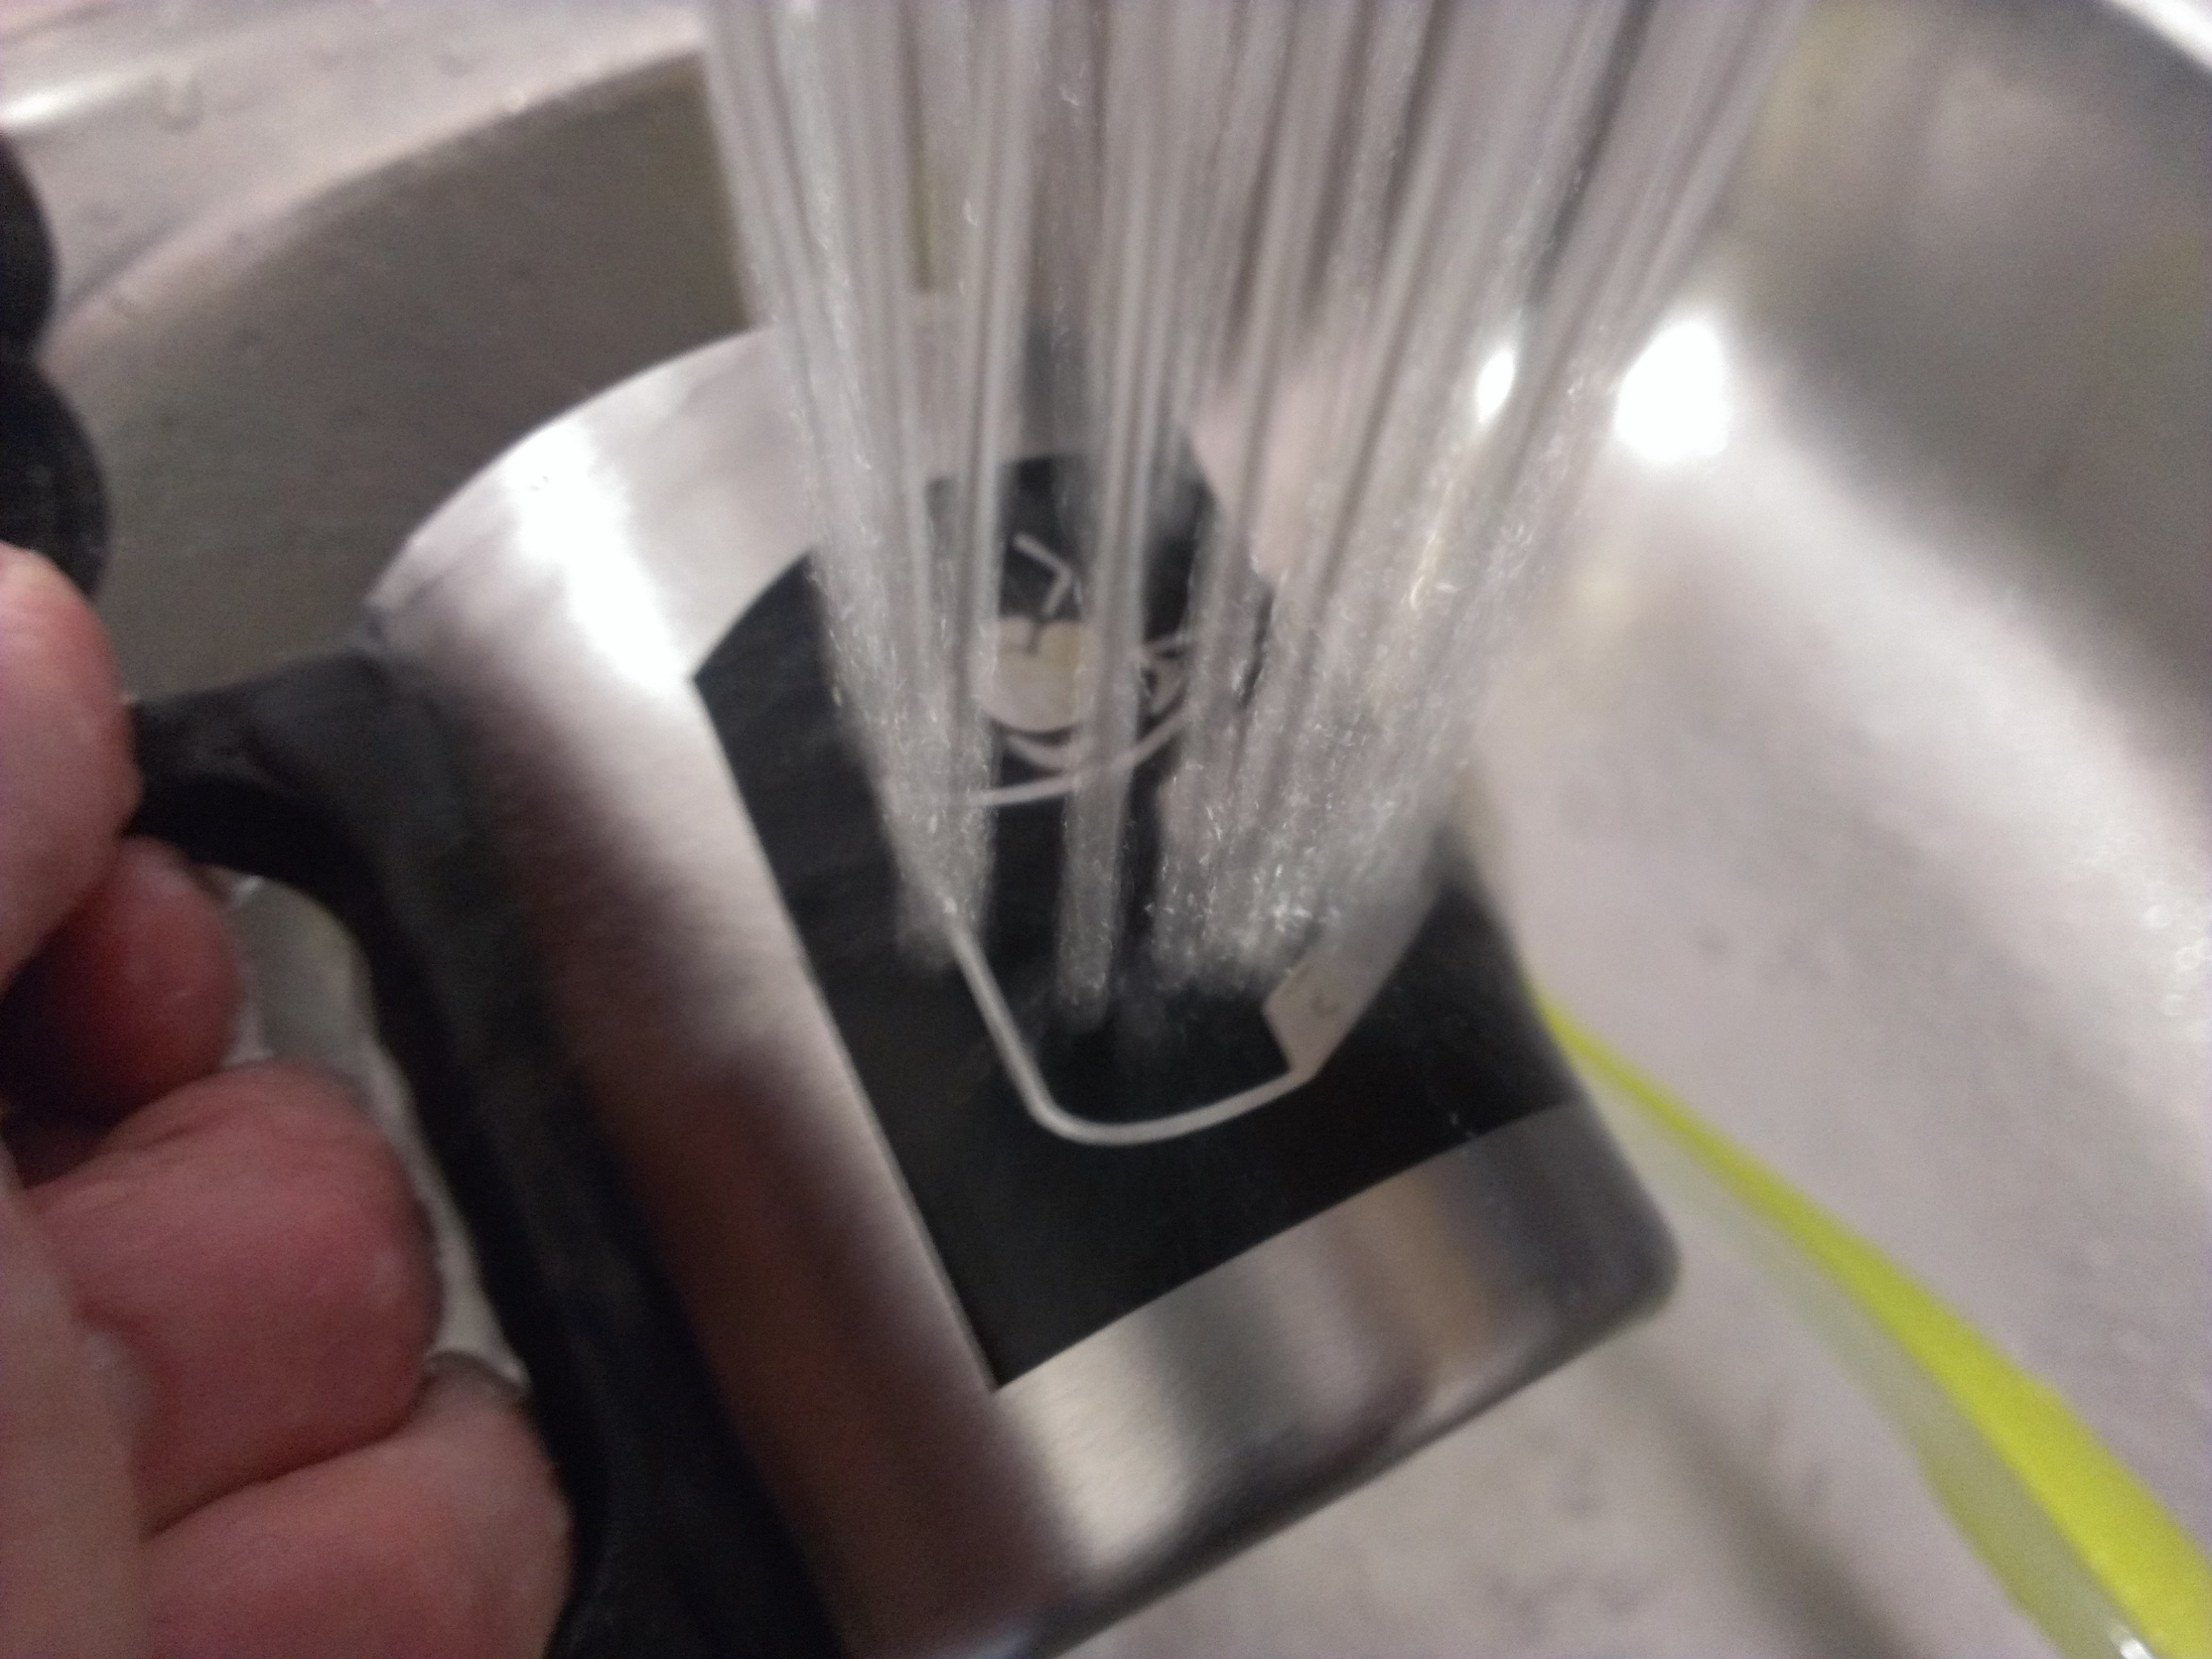
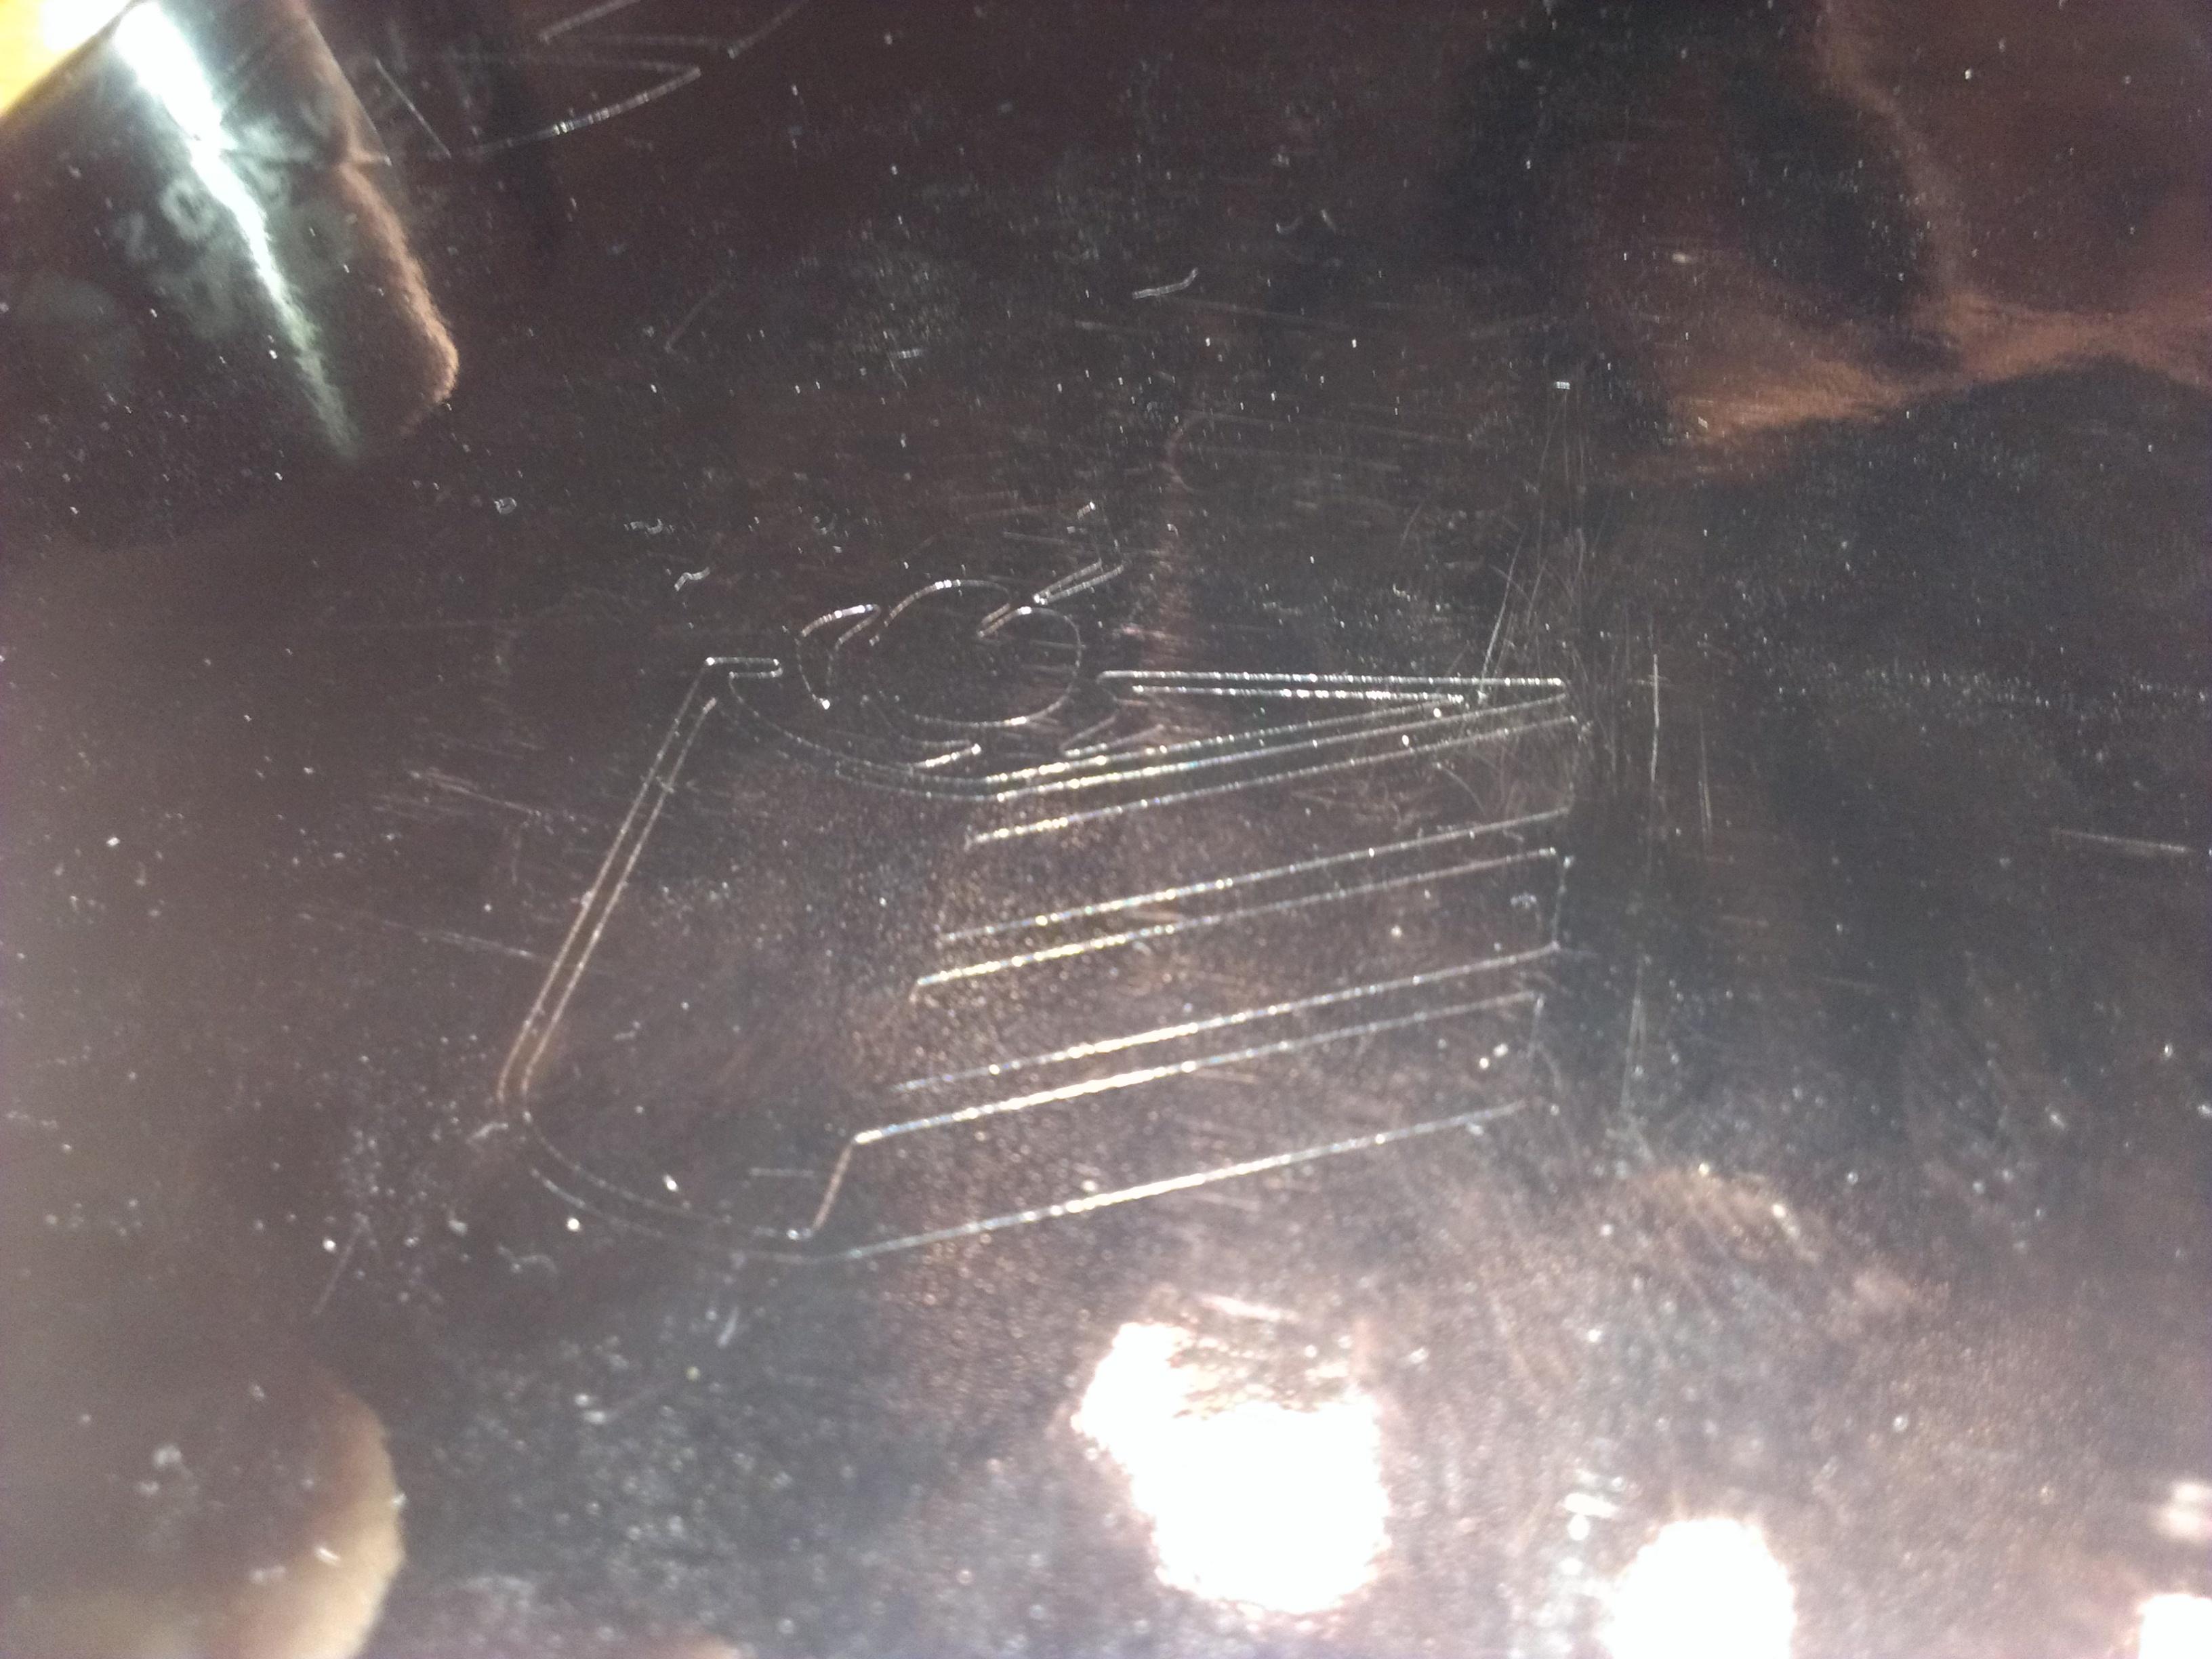
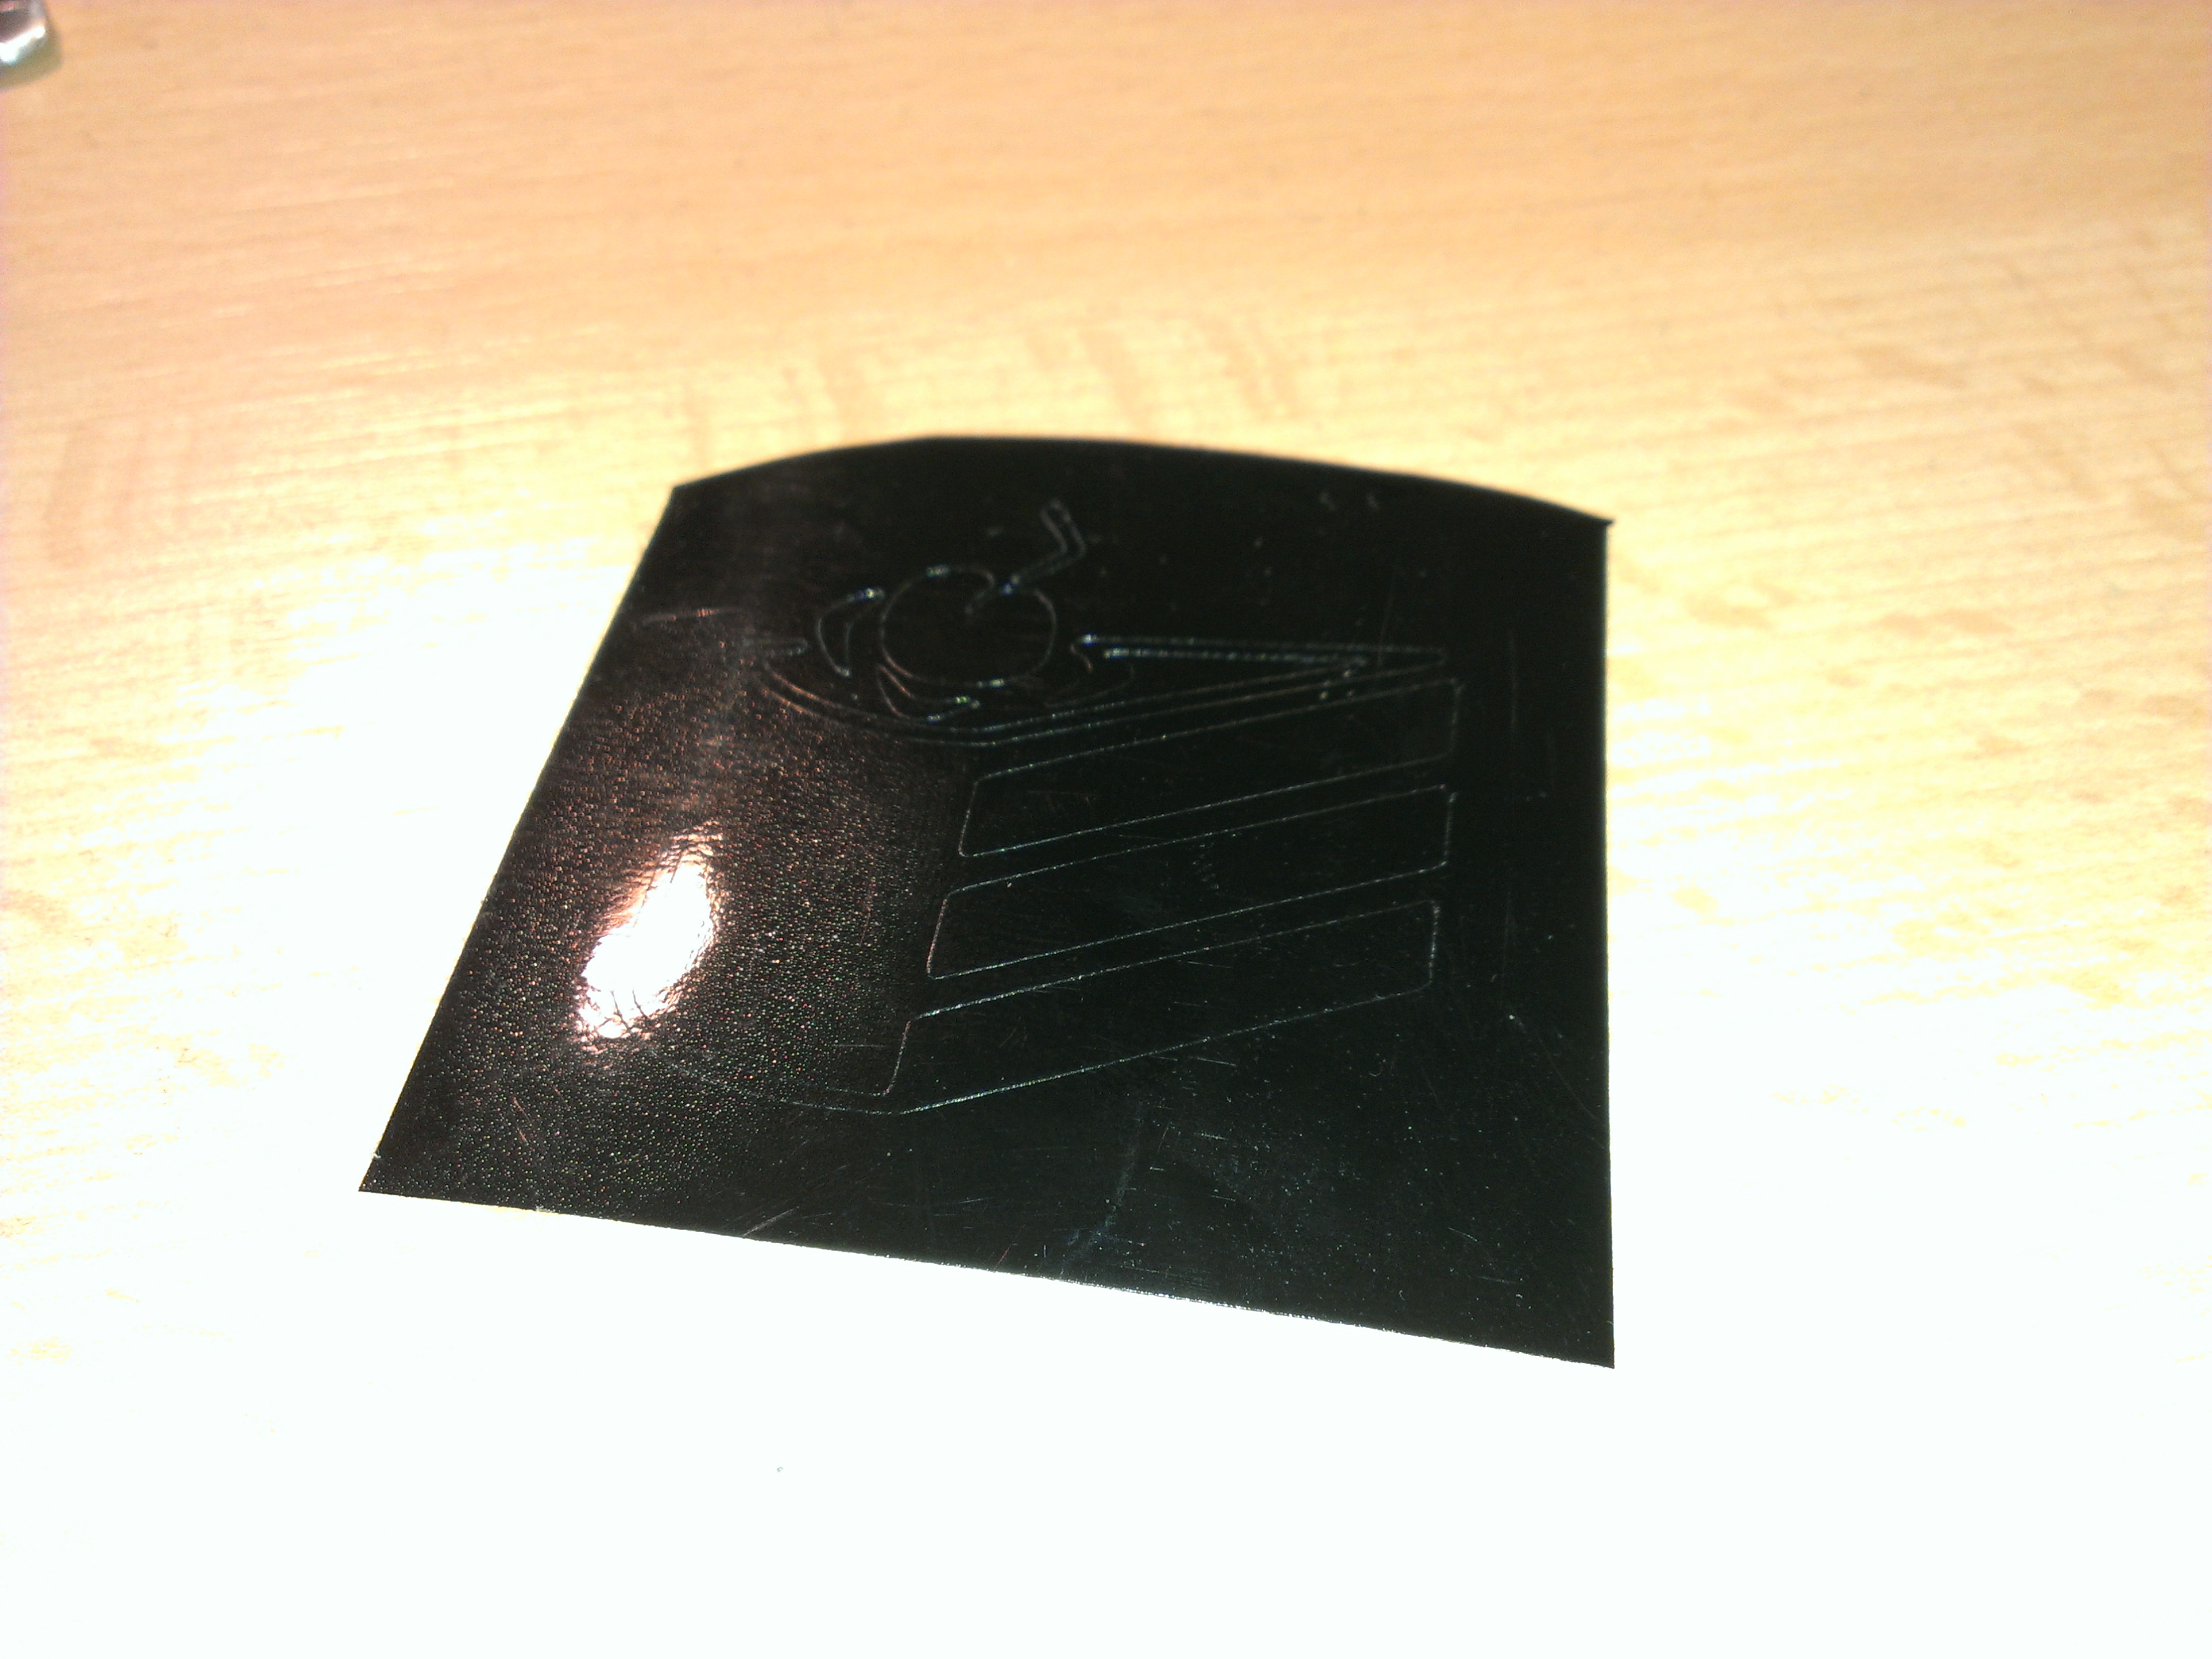
When you etched all areas more or less evenly, you can wash off the residues and then remove the stencil.

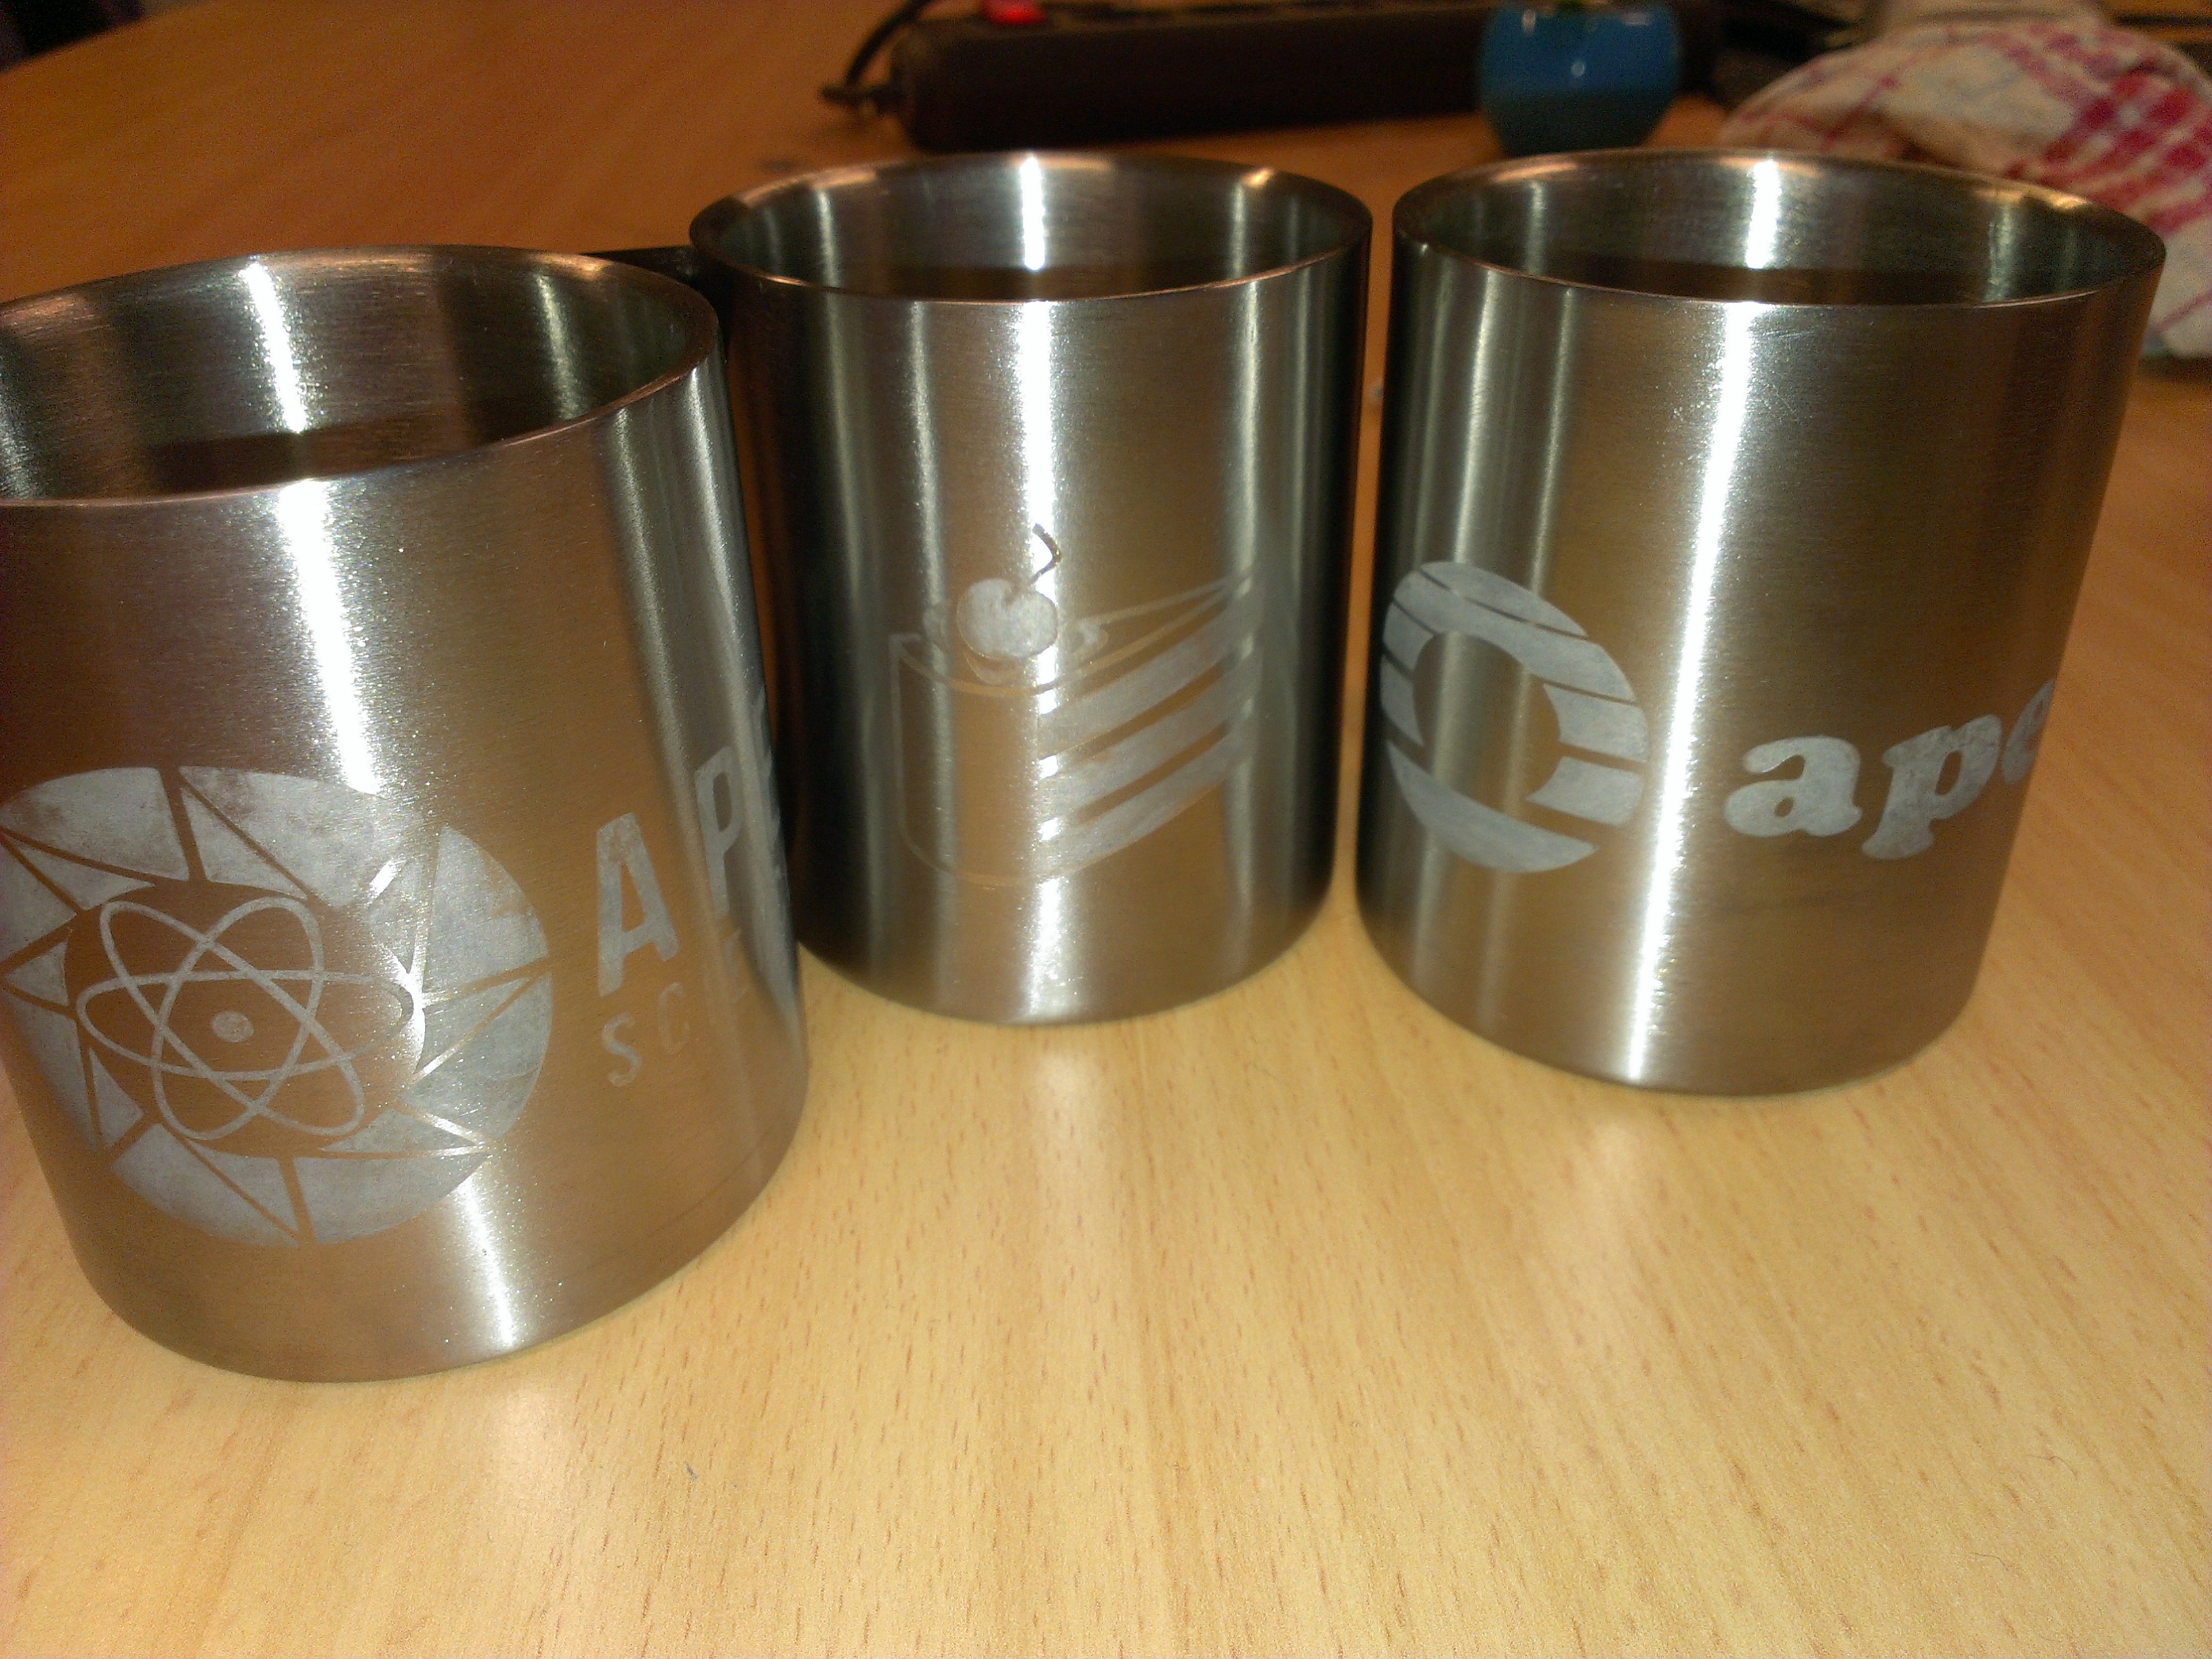
Who needs laser engraving anyway? The finest structure we’ve etched so far was around 0.7 mm, but we guess it’s possible to go down to 0.2 mm.
You can find the images of this post in this flickr set.
Update (by rohieb): I tried it on brass, works reasonably well (as long as you don’t get the direction of the adhesive wrong… ;-))
2nd Update (also by rohieb): After buying a bunch of new (steel) belt buckles, I tried an Extended Advanced Etching Contraption:
Although the belt buckle was wrapped in duct tape, the vinegar-salt solution leaked through, which resulted in slight etching on the inside on the buckle. If this is a problem for you, you should be really careful when wrapping it, and maybe try submerging it in clean water first ;-) But in my case, it’s on the inside and nobody will ever notice.